Recipes

Pumpkin Spice French Toast Casserole

pumpkin spice french toast casserole brunch recipe

I asked on Instagram if you wanted this recipe, and it was a resounding yes! So I’m excited to share it with you. We are in Boulder, CO right now, and while we were here, we decided to sprinkle some love on one of our lovely pals who lives here and is currently prego with twins! We hosted a “micro baby shower” for her, which consisted of our family plus the soon-to-be mama and pops. I wanted to make a sweet treat for the occasion, and obvi, we are in full swing pumpkin season, so I thought- why not Pumpkin French Toast Casserole? Brilliant idea, but I had never made anything like this before so I needed some inspo from someone who had thought this through and tested it before. I searched pinterest and found this recipe, from Just So Tasty. Her recipe was great, but I had different pan sizes/ ended up with slightly less bread than suggested, so I adjusted accordingly. I’m sure the original is fabulous, but the amended version was pretty fab too- and it is nut free! Have a read through her recipe and check out my revised version at the bottom! Enjoy!


PUMPKIN SPICE FRENCH TOAST CASSEROLE (ORIGINAL FROM JUST SO TASTY)

Serves 8 very hungry people

Ingredients

French Toast Casserole

  • 1 15-18 oz loaf of stale white bread* such as challah, French bread, or Brioche

  • 1 1/2 cups milk

  • 1 cup pure pumpkin (not pumpkin pie filling)

  • 5 large eggs

  • 1/4 cup white sugar

  • 1 tablespoon pumpkin pie spice or make your own - see recipe notes

  • 2 teaspoons vanilla extract

Streusel Topping

  • 1/2 cup all-purpose flour

  • 1/2 cup brown sugar

  • 2 tablespoons white sugar

  • 1 teaspoon pumpkin pie spice

  • 1/3 cup chopped pecans

  • 1/3 cup unsalted butter melted

Instructions

French Toast Casserole

  • Lightly grease a 9x13 inch (23 x 33 cm) glass baking pan.

  • Cut the loaf of bread into small cubes or rip into pieces with your hands. Place the bread in the prepared pan.

  • In a large bowl, whisk together the milk, pumpkin puree, eggs, sugar, pumpkin spice and vanilla extract.

  • Pour the pumpkin mixture over the bread and gently stir (if needed) to ensure that the bread is evenly coated.

Streusel Topping

  • In a medium bowl stir together the flour, brown sugar, white sugar, pumpkin pie spice and chopped pecans.

  • Stir in the melted butter.

If Baking Immediately

  • Preheat the oven to 350F (180C) degrees.

  • Sprinkle/crumble the streusel over the French toast casserole.

  • Cover the pan with aluminum foil and bake for 40 minutes covered. Then remove the foil and continue baking for 15-20 minutes, or until an inserted toothpick comes out clean.

If Baking the Next Morning

  • Cover the pan with aluminum foil and place in the fridge overnight.

  • Cover the bowl of streusel with plastic wrap and place in the fridge.

  • When ready to bake, remove from the fridge and preheat the oven to 350F (180C) degrees.

  • Sprinkle the streusel over the French toast casserole.

  • Bake covered with aluminum foil for 40 minutes, then remove the foil and continue baking for 15-20 minutes.

Notes

*To make your own pumpkin pie spice, use 2 teaspoons cinnamon, 1/2 teaspoon nutemeg, 1/2 teaspoon ginger powder, and 1/4 teaspoon ground cloves. Store leftovers covered in the fridge. Then warm up in the microwave before enjoying. Leftovers can also be frozen. Cut into pieces, place in a freezer safe container and freeze for up to 2 months. Thaw in the fridge overnight, then warm up in the microwave to enjoy.Recipe can also be halved and prepared in an 8x8 or 9x9 inch pan (just ensure the sides are high). 


Al’s Amended Pumpkin Spice French TOast Casserole

Pumpkin Spice French Toast Recipe baby shower

Serves 8 Very Hungry People

Ingredients

French Toast Casserole

  • 1 12 oz loaf of stale sour dough bread

  • 1 1/2 cups milk

  • 1 cup pure pumpkin (not pumpkin pie filling)

  • 4 large eggs

  • 1/4 cup white sugar

  • 1 tablespoon pumpkin pie spice or make your own - see recipe notes (I liberally sprinkled pumpkin pie spice ingredients - wasn’t exact)

  • 2 teaspoons vanilla extract

“Streusel” Topping

  • 1/2 cup white sugar

  • 1 teaspoon(ish- again, I was liberal with) pumpkin pie spice

  • 1/3 cup salted butter melted

Garnish

  • Maple syrup

Instructions

French Toast Casserole

  • Lightly grease a 9x13 inch (23 x 33 cm) glass baking pan.

  • Cut the loaf of bread into small cubes or rip into pieces with your hands. Place the bread in the prepared pan.

  • In a large bowl, whisk together the milk, pumpkin puree, eggs, sugar, pumpkin spice and vanilla extract.

  • Pour the pumpkin mixture over the bread and gently stir (if needed) to ensure that the bread is evenly coated. NOTE: Make sure this goes all the way through to the bottom.

Streusel Topping

  • In a medium bowl stir together the white sugar and pumpkin pie spice.

  • Stir in the melted butter.

If Baking Immediately

Pumpkin French Toast Casserole Recipe
  • Preheat the oven to 350F (180C) degrees.

  • Spoon the streusel over the French toast casserole.

  • Cover the pan with aluminum foil and bake for 40 minutes covered. Then remove the foil and continue baking for 15-20 minutes, or until an inserted toothpick comes out clean.

  • Serve with maple syrup!


Note: I had a smaller loaf of bread so I decreased the liquid, almost too much. This recipe reflects my amended version with the right amount of liquid.


Baby James turns 1 (plus recipes!)

Reaching for the healthy smash cake…

Reaching for the healthy smash cake…

…so overwhelmed by real sugar!

…so overwhelmed by real sugar!

At the end of July our little man turned 1! I can’t even believe how quickly this year has flown. I know I’m his mom, and I’m supposed to be obsessed with him–but he just amazes me more and more every day. He is walking, super on the move, has soooo many teeth, and is just the sweetest little love bug.

These decorations were very affordable and cute from amazon. Shop HERE. *This links to my Amazon shop where I do earn a commission!*

These decorations were very affordable and cute from amazon. Shop HERE. *This links to my Amazon shop where I do earn a commission!*

Because we are living in COVID times, we skipped the party. But we have had small, individual gatherings with all of the grandparents. The decorations have been traveling with us to their respective homes! I’m really missing my other favorite humans, but less people means less work? Kinda? Not really, but that’s what I keep telling myself.

I haven’t been overly obsessive about what we feed James, but he has had almost zero refined sugar. Since we had 3 celebrations–I came up with a couple of alternatives to the traditional smash cake. The last bash he finally got to taste the real deal and it was a moment to remember. He was amazed by sugar!

Wild One Birthday Decorations cute affordable
watermelon first birthday cake

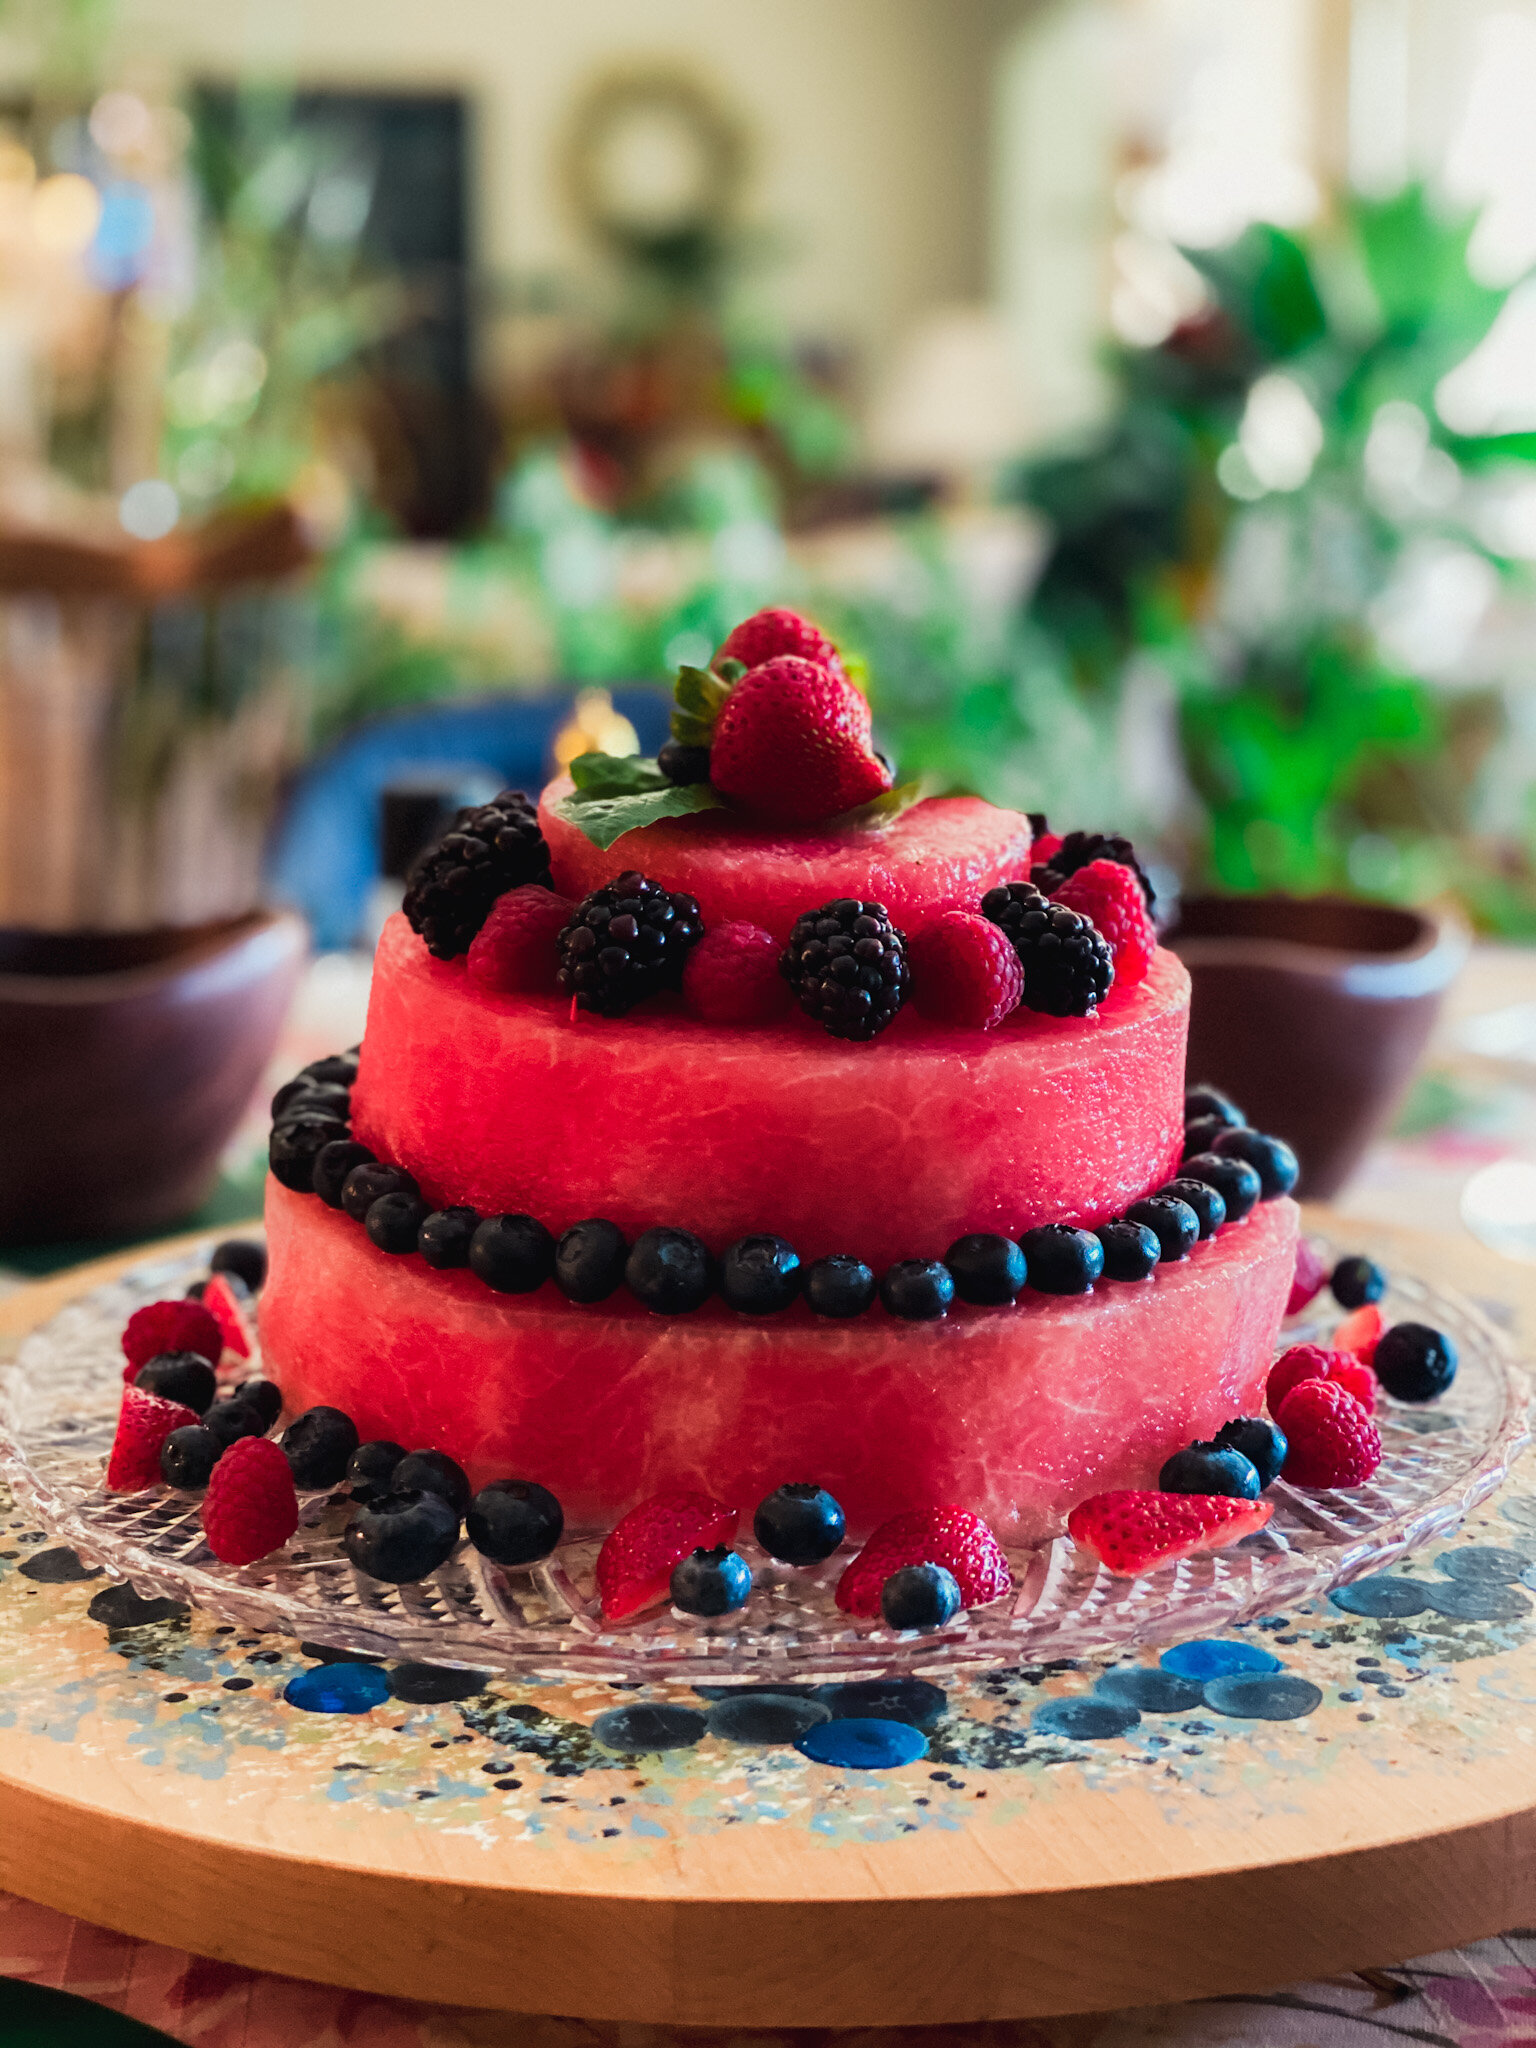
At our first tiny fête I made him a watermelon cake. It was truly fitting because the kid loves watermelon more than anything. Really, I’m pretty sure he is 95% comprised of fruit. He ate so much watermelon as I made the cake, that he ended up just most of the berries off of the cake instead! But he loved it, and was able to munch on it for several meals to come.

first birthday smash cake wild one theme

At the second party, I made him a healthy-ish smash cake. It was basically a glorified muffin. I found the recipe on pinterest (here is the original- recipe by Love in my Oven) but had to make adjustments based on what we had. Ideally, it was supposed to be made with whole wheat flour, which was my intention, but my grocery was sold out(!!!) for 3 days straight. It was a bummer, but I used regular ole all purpose flour with no regrets. I also needed a small spring foam pan that I failed to realize I didn’t have until I was making the cake. So I used a loaf pan, and cut it into tiers, thus its super weird shape! Do you want to know the best part about a one-year-old’s birthday? They have no idea what’s really going on, so I didn’t even feel bad about the cake being oddly shaped!

watermelon martini first birthday cocktail

It was hysterical- he was so into it at first, but we wouldn’t let him have it because we weren’t ready yet. By the time we actually gave it to him he had lost interest and had no idea what he was supposed to do with it. He did eventually “smash” into it and couldn’t stop eating it. So I also consider it a win! Also because it was healthy-ish, I gave him the leftovers for lunch the next day. Note: the whipped cream started to melt, so I would take it out at the last second if I were to make it again.

Lastly, the adults needed a lil something too, so we had a signature cocktail. In this case, we went on theme and did a 3 ingredient watermelon-tini. I don’t actually know the measurements, I just went off of taste. All three “recipes” follow.


Watermelon cake

watermelon cake healthy birthday cake alternative berries

Serves 5 for dessert

Ingredients

  • 1/2 large watermelon

  • About 1 cup assorted berries (I used blueberries, blackberries, raspberries, and strawberries)

  • 2 small sprigs of basil or mint for garnish

Equipment

  • A large sharp knife

  • 3 plates/ dishes to be used to trace the tiers of cake

  • Toothpicks (optional)


Instructions

After watermelon is halved, slice (with rind still on) into 3 layers. Use 3 different sized plates or pans to cut out each layer of cake.

Assemble three layers. You can use toothpicks to keep the layers together (I didn’t because it seemed solid, but could be helpful). Layer berries on each tier. I did blueberries on the largest layer, blackberries and raspberries on the second tier, strawberries and basil on the top tier. Sprinkle remaining berries around the base to decorate the plate. Enjoy your fruit fiesta!


Healthy Smash Cake (adapted from love in my oven)

Serves 1 [with leftovers - (or not, depending on destruction)]

healthy smash cake first birthday

[Note: original recipe here. I left her instructions on what I thought would have been better if I had followed them, but changed to include my ingredients accurately.]

Ingredients

Cake

  • 1 1/4 cup white flour

  • 1 tsp baking powder

  • 1/2 tsp baking soda

  • 1/4 tsp salt

  • 1 banana, very ripe

  • 5 strawberries

  • 1/4 cup unsweetened applesauce

  • 1/4 cup 2% milk

  • 1 egg

  • 1 tsp pure vanilla extract

Frosting

  • 1 cup whipping cream

  • 1 tbsp maple syrup

  • sprinkles (optional for garnish)

Equipment

  • 6″ springform pan (or two 4 1/2″ pans per her direction) Note: I just used 1 loaf pan and cut it in half to create layers

Instructions

  1. Preheat the oven to 350F and butter and flour a 6″ springform pan*

  2. In a large mixing bowl, sift together the flour, baking powder, baking soda and salt. Set aside.

  3. Place the banana, strawberries and applesauce together in a blender and mix on high until completely pureed.

  4. In another small bowl, whisk together 1 cup of the fruit puree, the milk, egg and vanilla extract. Add the wet ingredients to the dry ingredients and carefully stir with a large wooden spoon until just combined.

  5. Pour the batter into the prepared pan, and bake for 25-30 minutes, or until a toothpick comes out clean.

  6. Allow the cake to cool for 10 minutes in the pan before running a knife along the edge of the pan and removing to a wire rack to cool completely.

  7. If wanting to create 2 layers, use a long piece of dental floss to cut the cake through the middle. Wrap the cooled cake in saran wrap until ready to place on a plate and frost.

Whipped Cream Frosting

  1. Place a mixing bowl and beater in the fridge for at least 3-4 hours before you are about to prepare the whipped cream. Pour the whipped cream into the chilled bowl, and beat on high with an electric mixer until the cream is the consistency you prefer.

  2. Frost the bottom layer of the cake first, then follow with the top layer. Keep refrigerated until ready to serve*

Notes

  1. You could also use two 4 1/2″ pans. Reduce cooking time to about 20-23 minutes.

  2. I recommend frosting the cake no more than 3-4 hours before serving to ensure the whipped cream maintains its shape.


Watermelon-tini

Serves about 5

watermelon vodka martini.jpg

Ingredients

  • 1/2 watermelon pureed and frozen

  • 1/2-1 lime

  • Vodka of your choice

  • Sprig of mint or basil for garnish

Instructions

Partially thaw watermelon puree, just enough so you can break it apart and add chunks to the blender. Once in blender, add vodka (I did a generous pour 😉, but you can start with less, and add more to your taste.). Squeeze half of lime. Blend until chunks are gone and liquids are merged. Taste. Add more vodka or lime to your preference. Add garnish, if you please. :)

Note: swap out vodka for soda water if you are looking for an alcohol free treat. Watermelon is super hydrating, so this is also great variation if you are feeling under the weather.

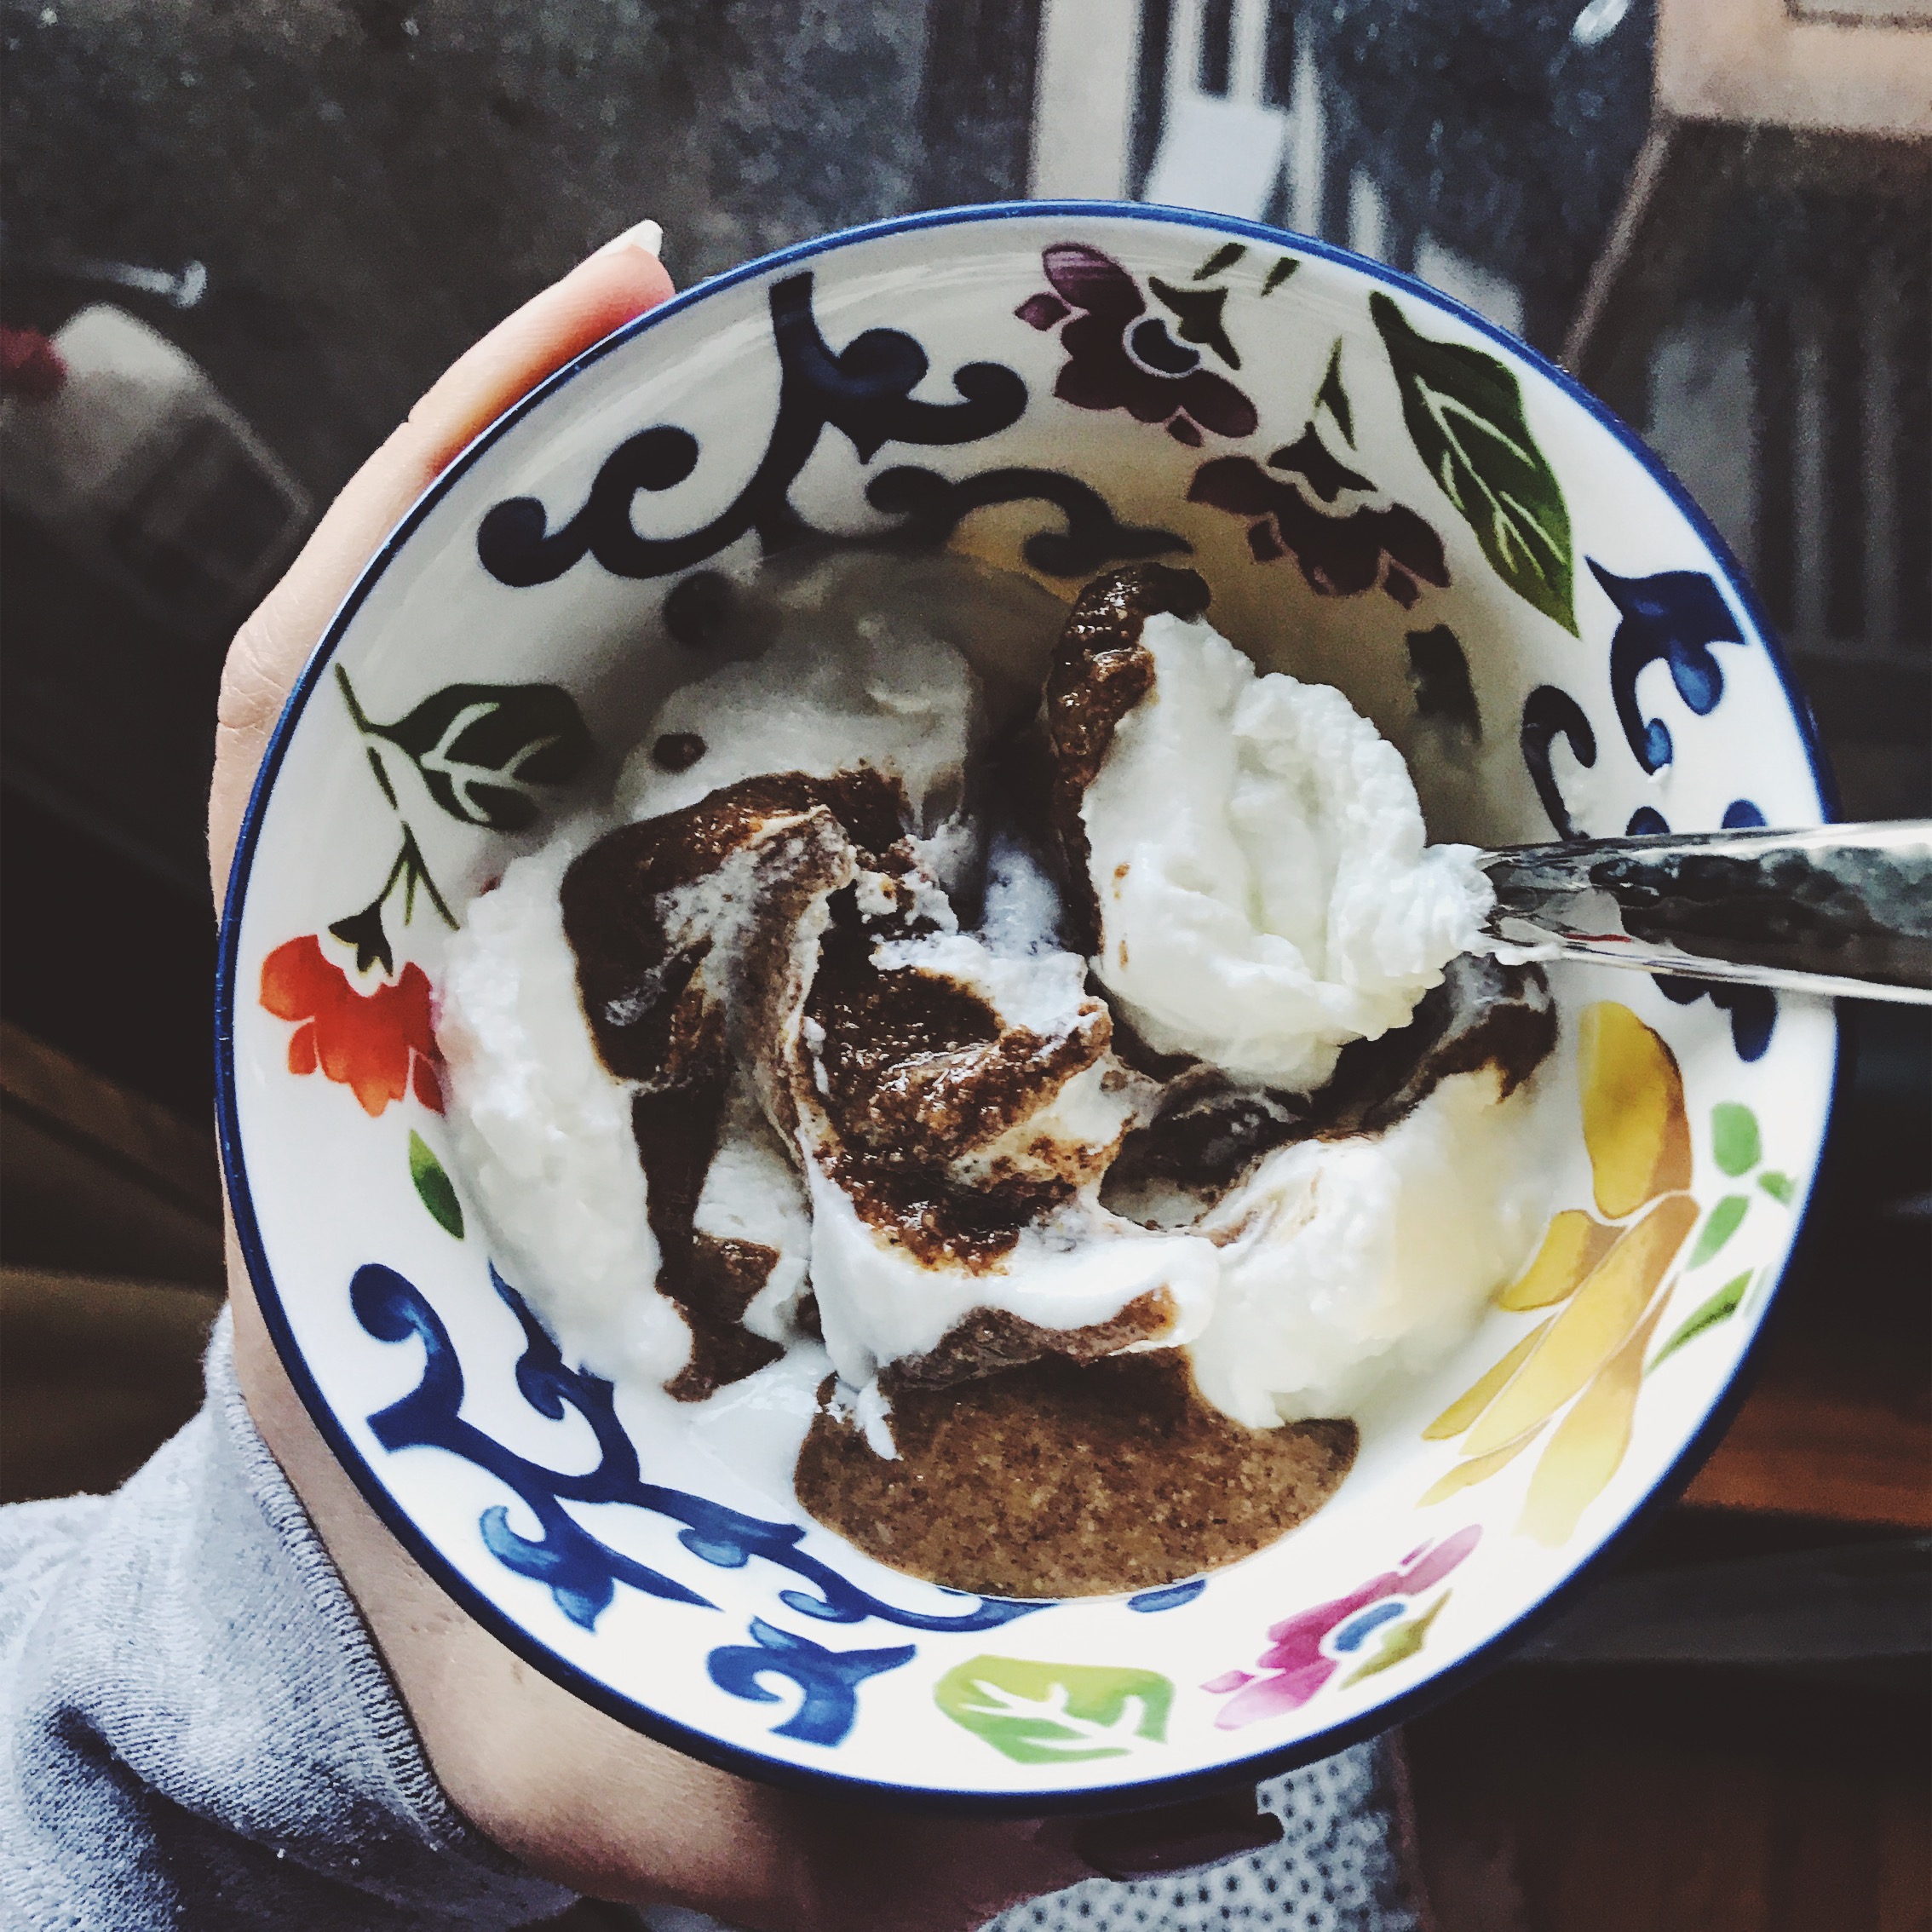
Banana "Nice" Cream

Banana “Nice” Cream

Serves 2

Ingredients

  • 3 frozen bananas, chopped

  • 1/4 cup unsweetened chocolate almond milk

  • 1 tbsp almond butter

  • ⅓ cup chocolate plant-based protein powder

  • Optional: 1/2 tbsp cacao nibs

Instructions

Place bananas, almond milk, almond butter, and protein powder into a food processor or blender. Pulse until smooth and creamy. You may need to turn off the motor and stir the mixture a couple times while processing. Add in cacao nibs (if using) and pulse once more. Scoop/spoon ice cream in to a bowl and enjoy!

Note: Freeze for an hour to make easier to scoop. If making in advance, just thaw for 10 minutes or so to make it easy to serve.

Butter Cinnamon Apples

Butter Cinnamon Apples

healthy+cinnamon+apples+recipe+shed+for+the+wed

Ingredients

  • 1 honeycrisp apple, diced

  • 1 tbsp grassfed organic butter

  • Cinnamon

Instructions

Melt butter in a small nonstick pan. Add apple pieces. Sprinkle liberally with cinnamon. Saute for about 5 minutes or when apples begin to get a bit softer. If you like them super soft keep going until they reach the consistency you like! Serve on their own or in a a bowl of oatmeal with organic peanut butter (shown!). A perfect treat while you are in month 1 of your shedding journey!

Note: I don’t peel the apples for an added nutrient and fiber boost. If you prefer the more traditional peel go for it!

Blueberry Banana Overnight Chia Oats

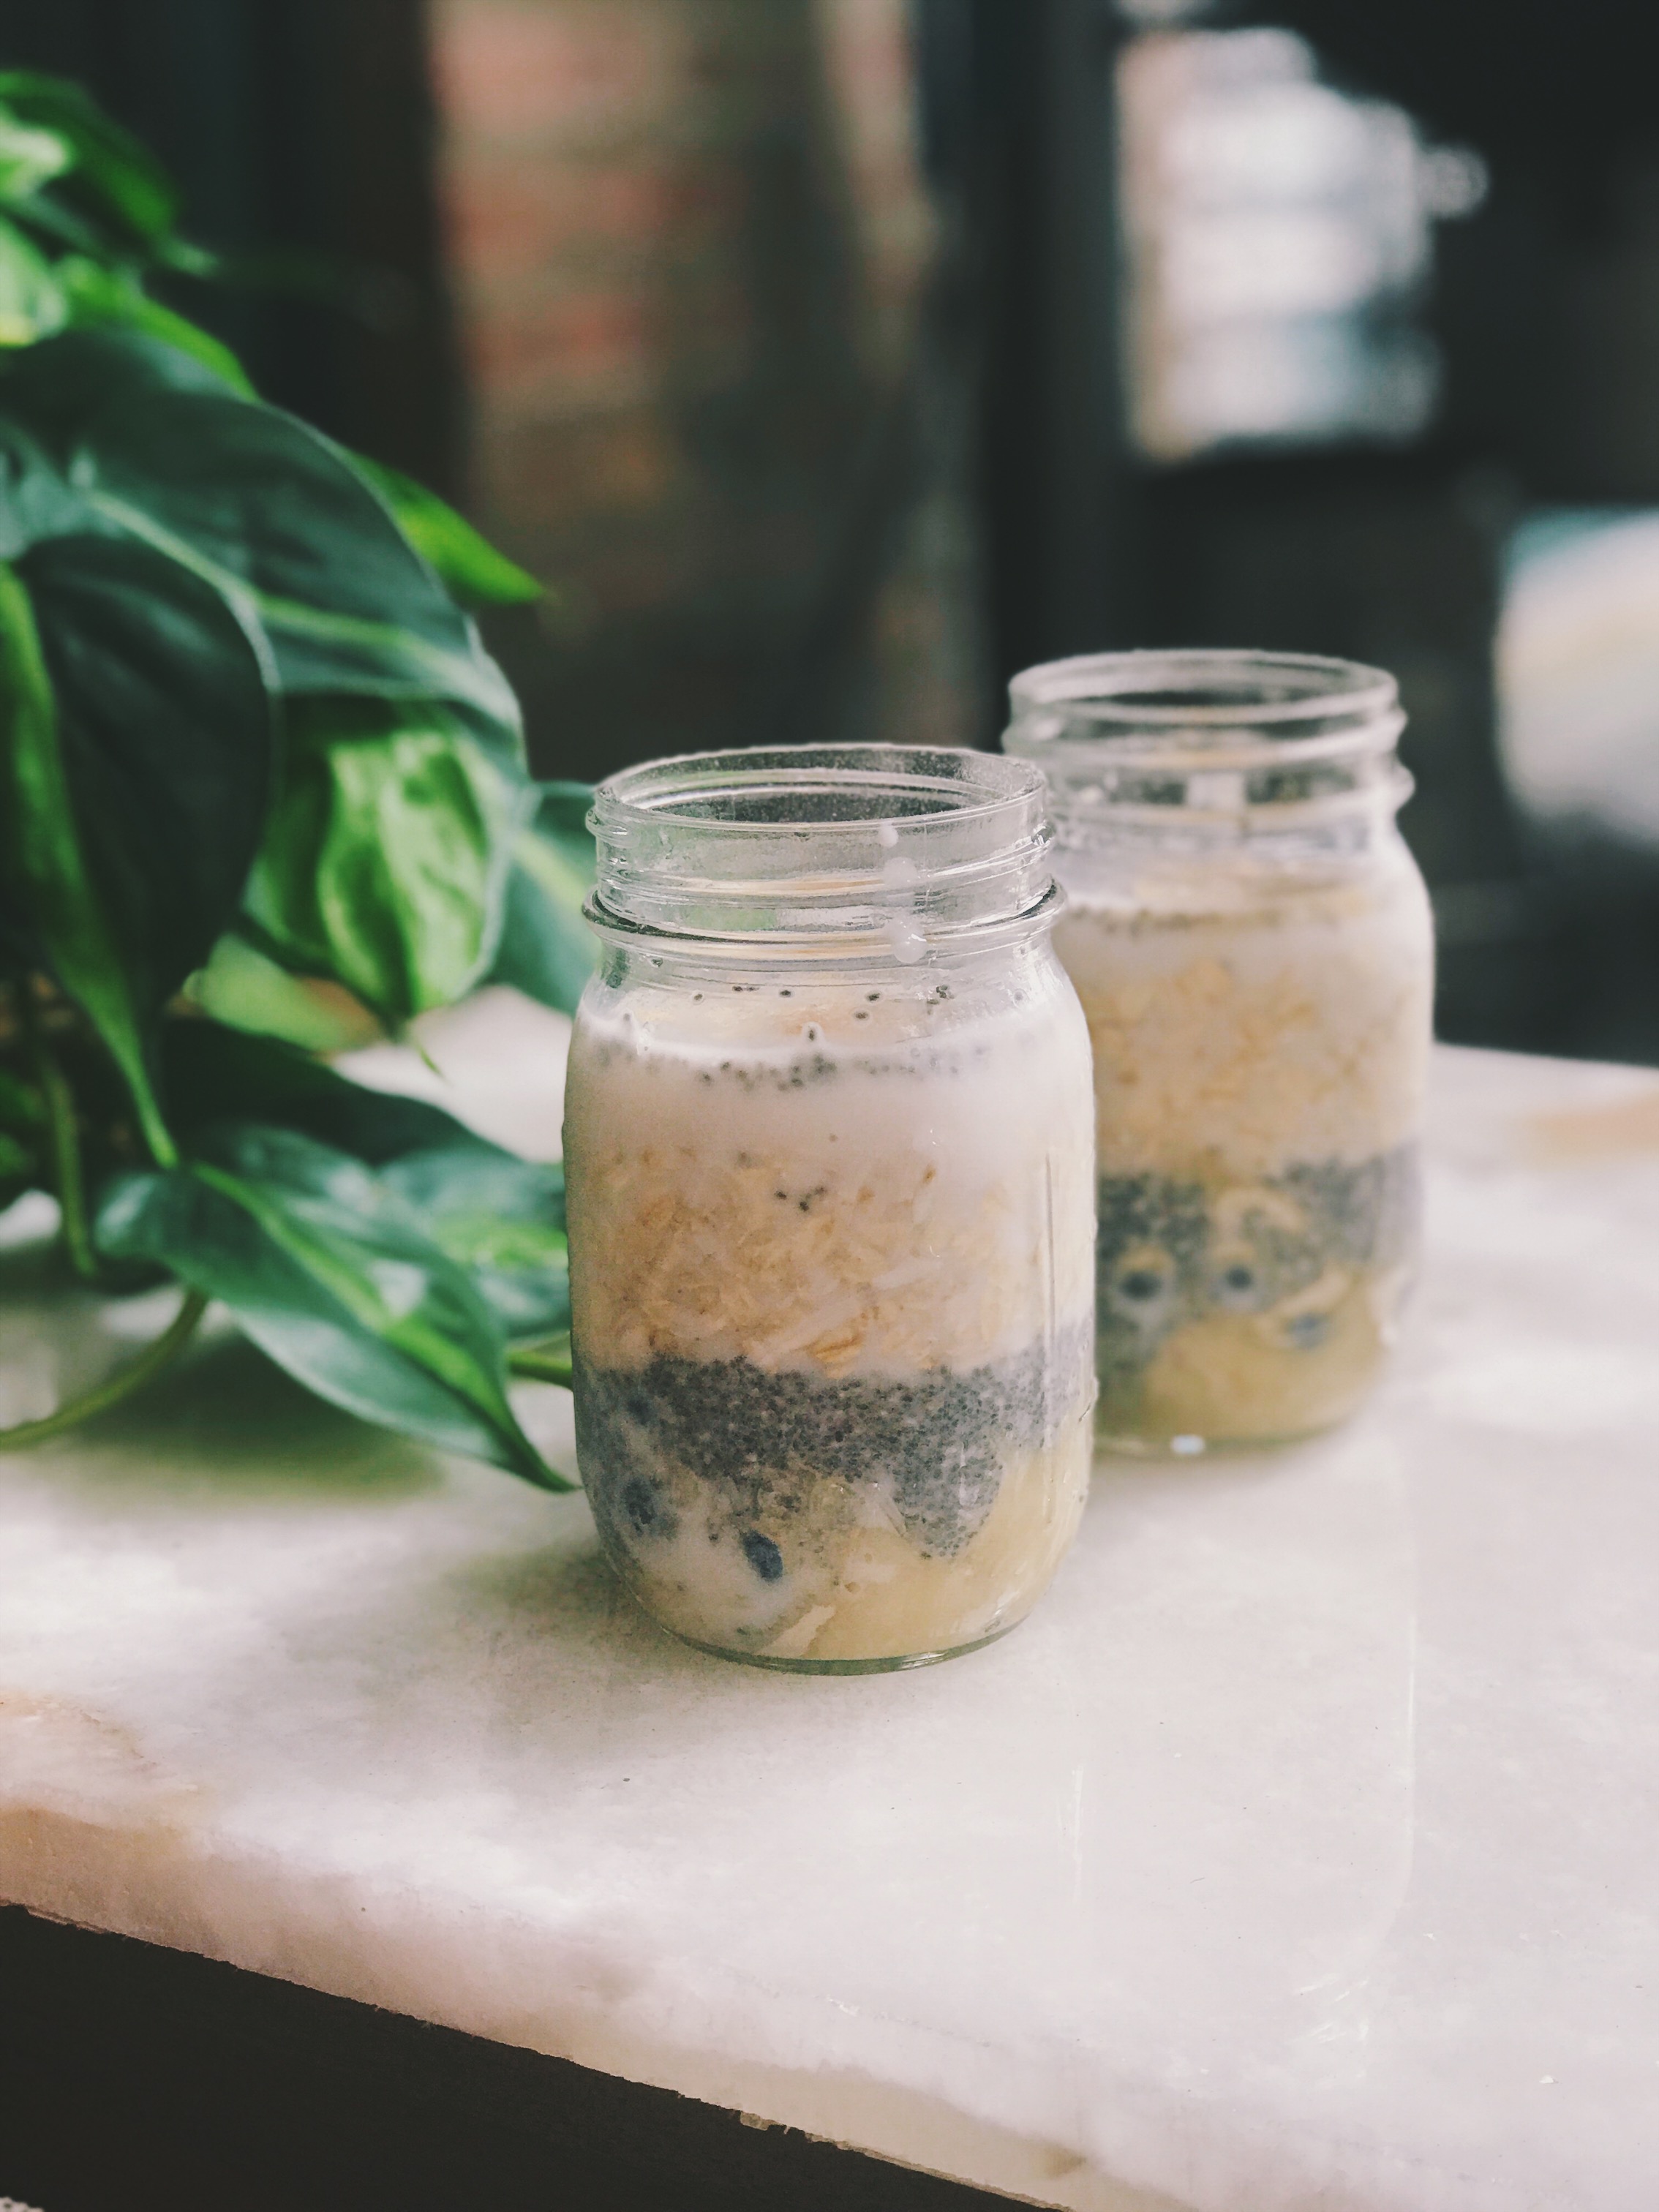
blueberry banana overnight chia oats shed for the wed healthy recipes

I love overnight oats because they are a quick and easy breakfast if you have time to prep the night before. You can also add a plant based protein powder for an extra protein boost!

Blueberry Banana Overnight Oats

Ingredients

  • 1/2 banana

  • 1/3 cup chia seeds

  • handful of blueberries (or however many sound good to you!)

  • 1/2 cup oats

  • Unsweetened vanilla almond milk

  • Dash vanilla extract

Instructions

Take half a banana and smash on the bottom of a mason jar. Layer chia seeds (about 1/3 cup), blueberries, and oats (about 1/2 cup). Cover with unsweetened vanilla almond milk. Add a dash of vanilla extract. Leave overnight covered in the fridge. In the morning 🎶 stir it up 🎶 before eating!

If you like your oats to be super flavorful, consider layering them on the bottom before the banana so they soak up more of the flavor!

Granola Butter, Sweet Potato Gnocchi, and Brussel Sprout Sauté Kit Review

This week I tried 3 new products. I shared them with you guys on Instagram, and there was quite a bit of interest in each so I wanted to share some more in depth thoughts on them! While I loved the flavor of all of products, they are not all #shedapproved, so have a read for the deets!

kween and co granola butter review

Original Granola Butter with collagen peptides by Kween & Co

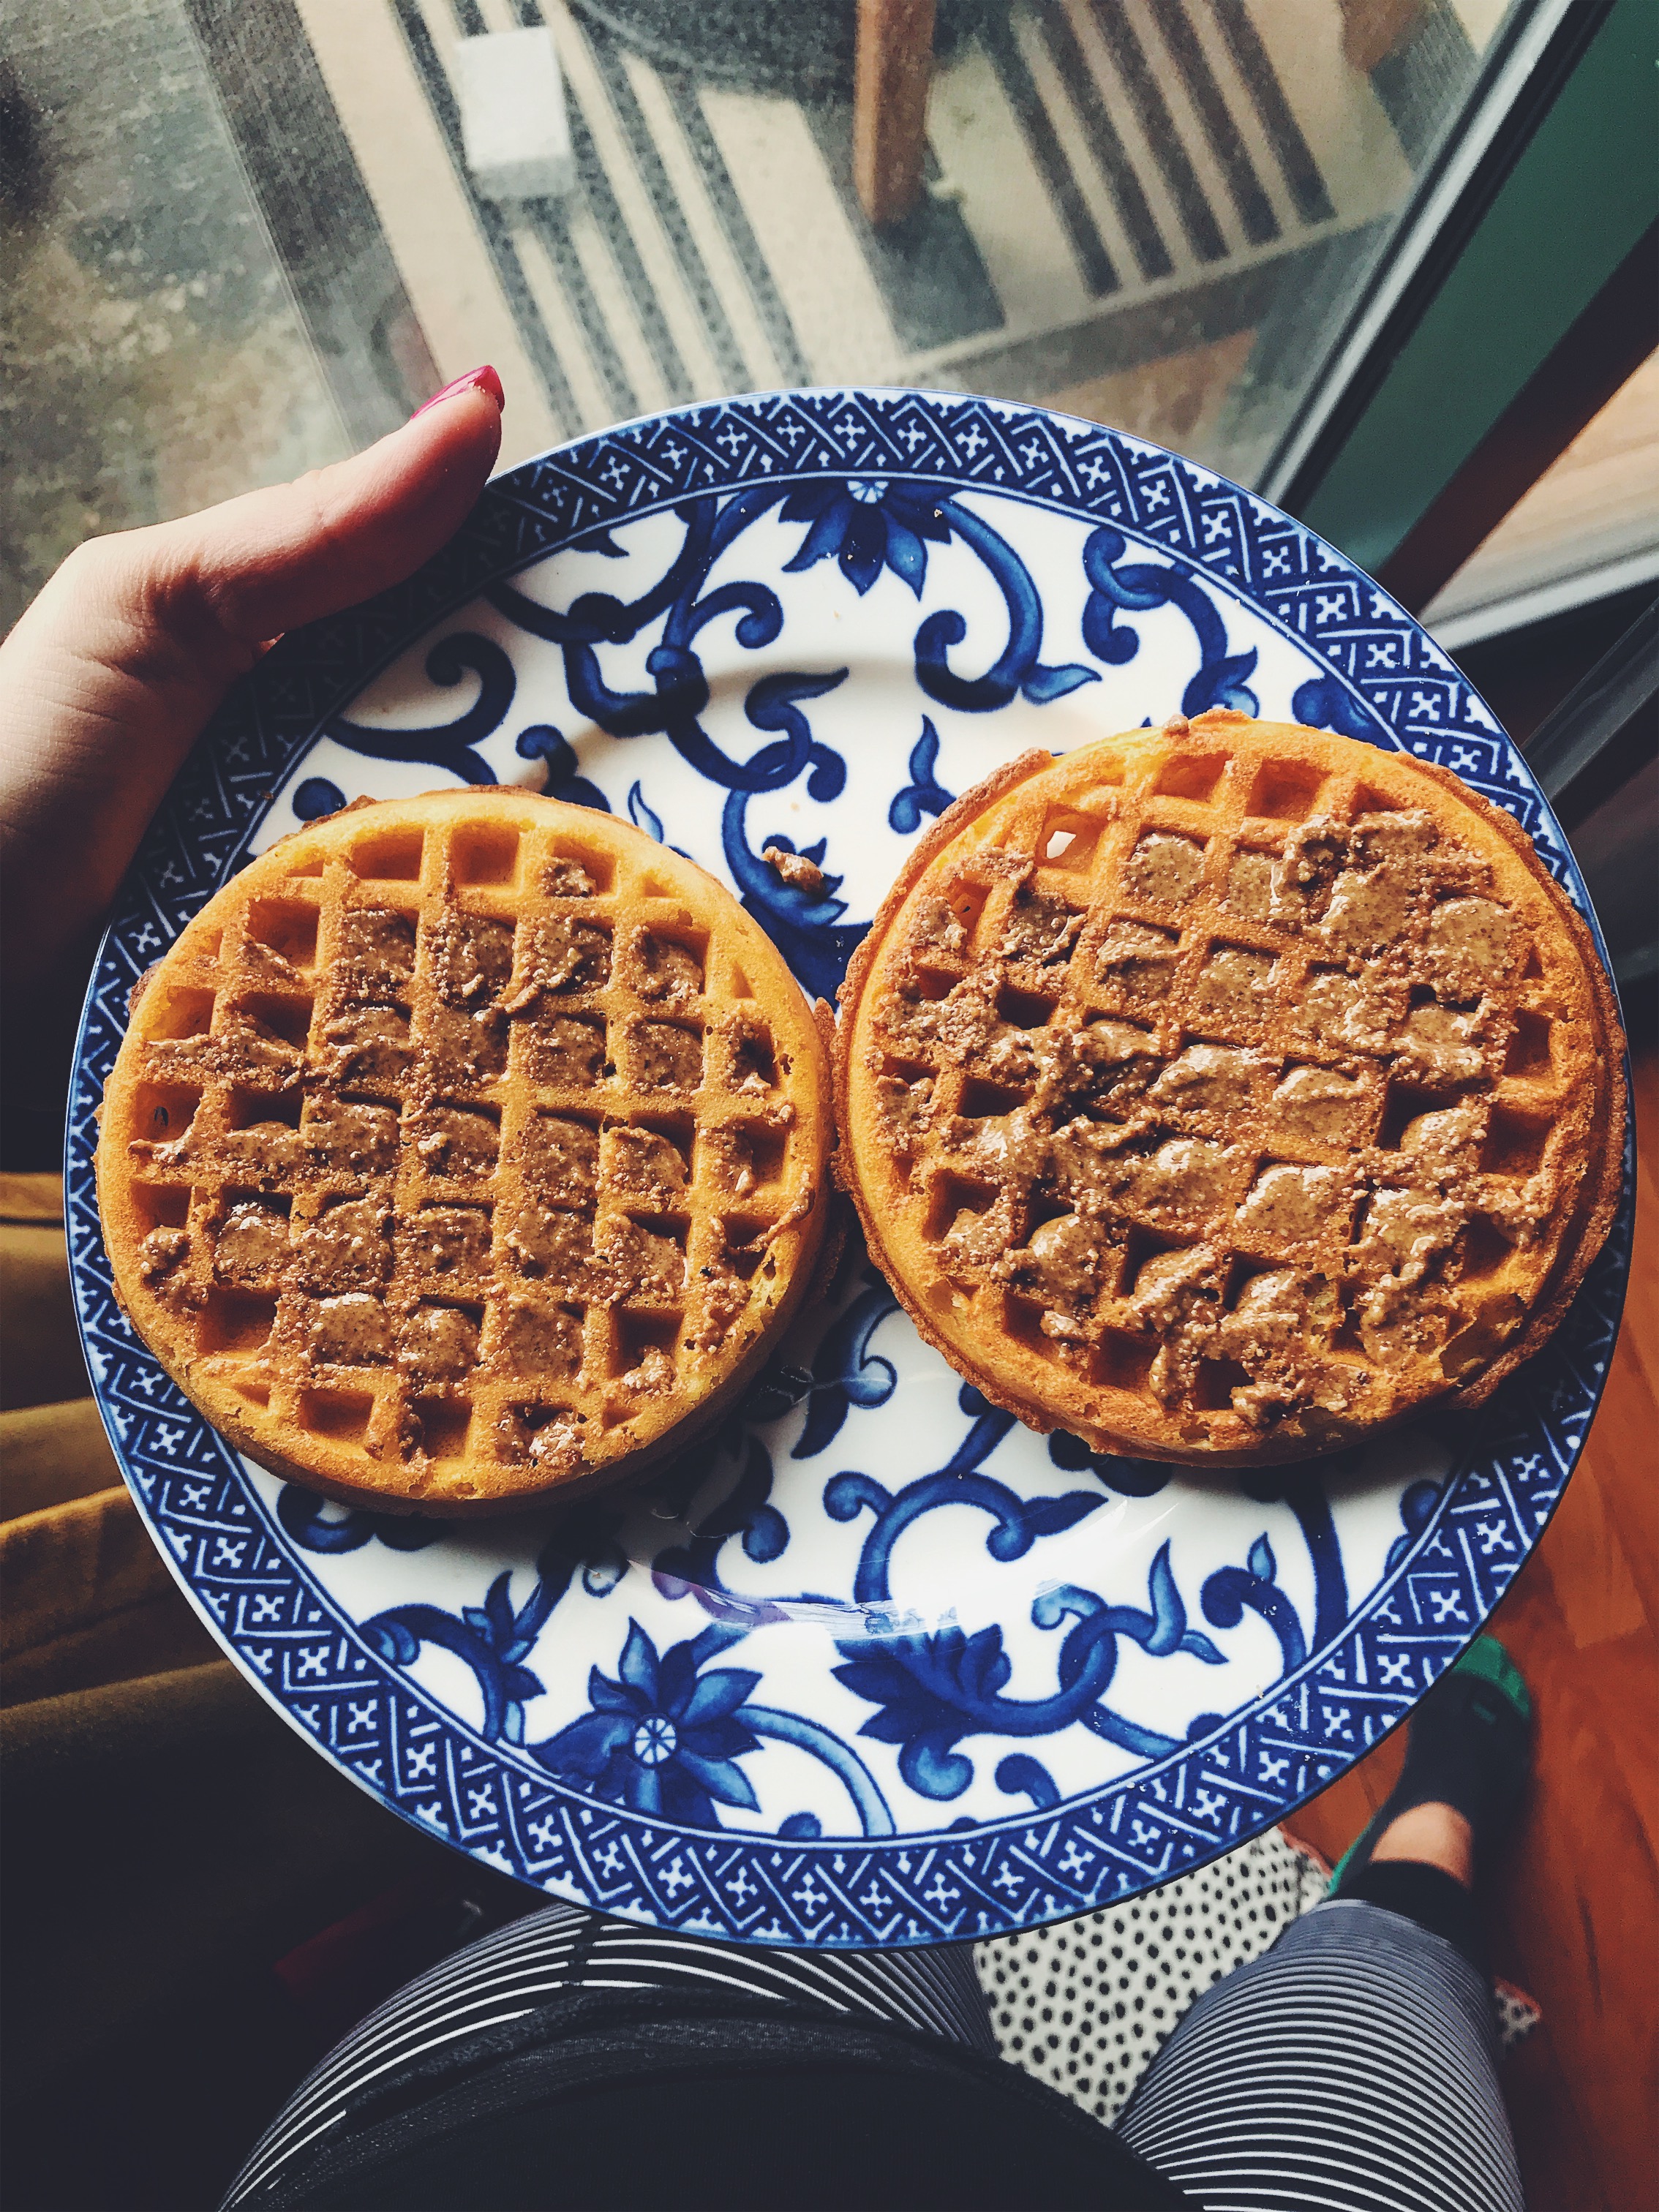
I’m late to this party. I’ve been eyeing this granola butter since it came out in 2018– but with a $12 price tag for a small container of what is essentially a “topper” it just fell low on my list of priorities. I will fully admit this was a mistake because after 4 days it has completely rocked my world. This is an awesome way to add “treat yo self” to your Shedding life! I’ve been able to use it in so many ways I’m going to run out soon if I’m not careful! Scroll to the bottom for a fun oatmeal recipe featuring tha buttah!

Cons

  • $12 a jar

  • Addicting 😂


Pros

  • Low sugar and no refined sugar

  • Added collagen peptides (pasture raised to boot) for a bonus protein boost

  • Tastes like cookie butter

Verdict: Shed Approved for both months 1 and 2 of the program if used according to serving size daily. Side note: if you aren’t into collagen there is a vegan version that is shed approved too!

Some of the many ways I used the granola butter this week! Also links to my amazon affiliate page if you click the photos above! (If you buy through there I receive a small commission!)


Sweet Potato Gnocchi from Trader Joe’s

Sooooo a lot of you have tried this and everyone was surprisingly impressed. It definitely tastes amazing and is very easy for a quick weeknight dinner. The bigger question is it Shed Approved? Welp, unfortunately I think we have to give it a no go. It contains wheat flour, white potatoes, butter sauce, and cheese. Dairy, wheat, and white potatoes are not included in the Shed program. It’s just too much inflammation and high GI.

Cons

  • Gluten and dairy (aka inflammation)

  • High in calories (don’t obsess over this, but when something is packaged, its something to be more mindful of)

Pros

  • Delicious

  • Literally takes less than 10 minutes to make

  • Shed for the Preg approved (lol the only rule there is that there are no rules!)

Verdict: Not Shed approved, but enjoy it on occasion post-shedding!


Brussels Sprouts Sauté Kit from Trader Joe’s

Again a lot of you had tried this! It absolutely tasted fantastic. And while there are quite a few ingredients, they seem to be high quality. This is a nice quick option for weeknights! My biggest qualm is that there quite a bit of cheese in there, and to be shed approved it would have to be a garnish sized amount. I made this for my step-dad who isn’t a fan of brussels sprouts at all and he loved it!

Cons:

  • Too much cheese (that dairy will get ya!)

  • More sugar in the dressing than I would like

Pros:

  • Super delicious

  • Fast

  • Getting your greens in!

Verdict: If you use only half of the cheese, or just truly treat it as a garnish, it is Month 1 Shed Approved. If you aren’t shedding it’s a nice occasionally side for a weekday din!


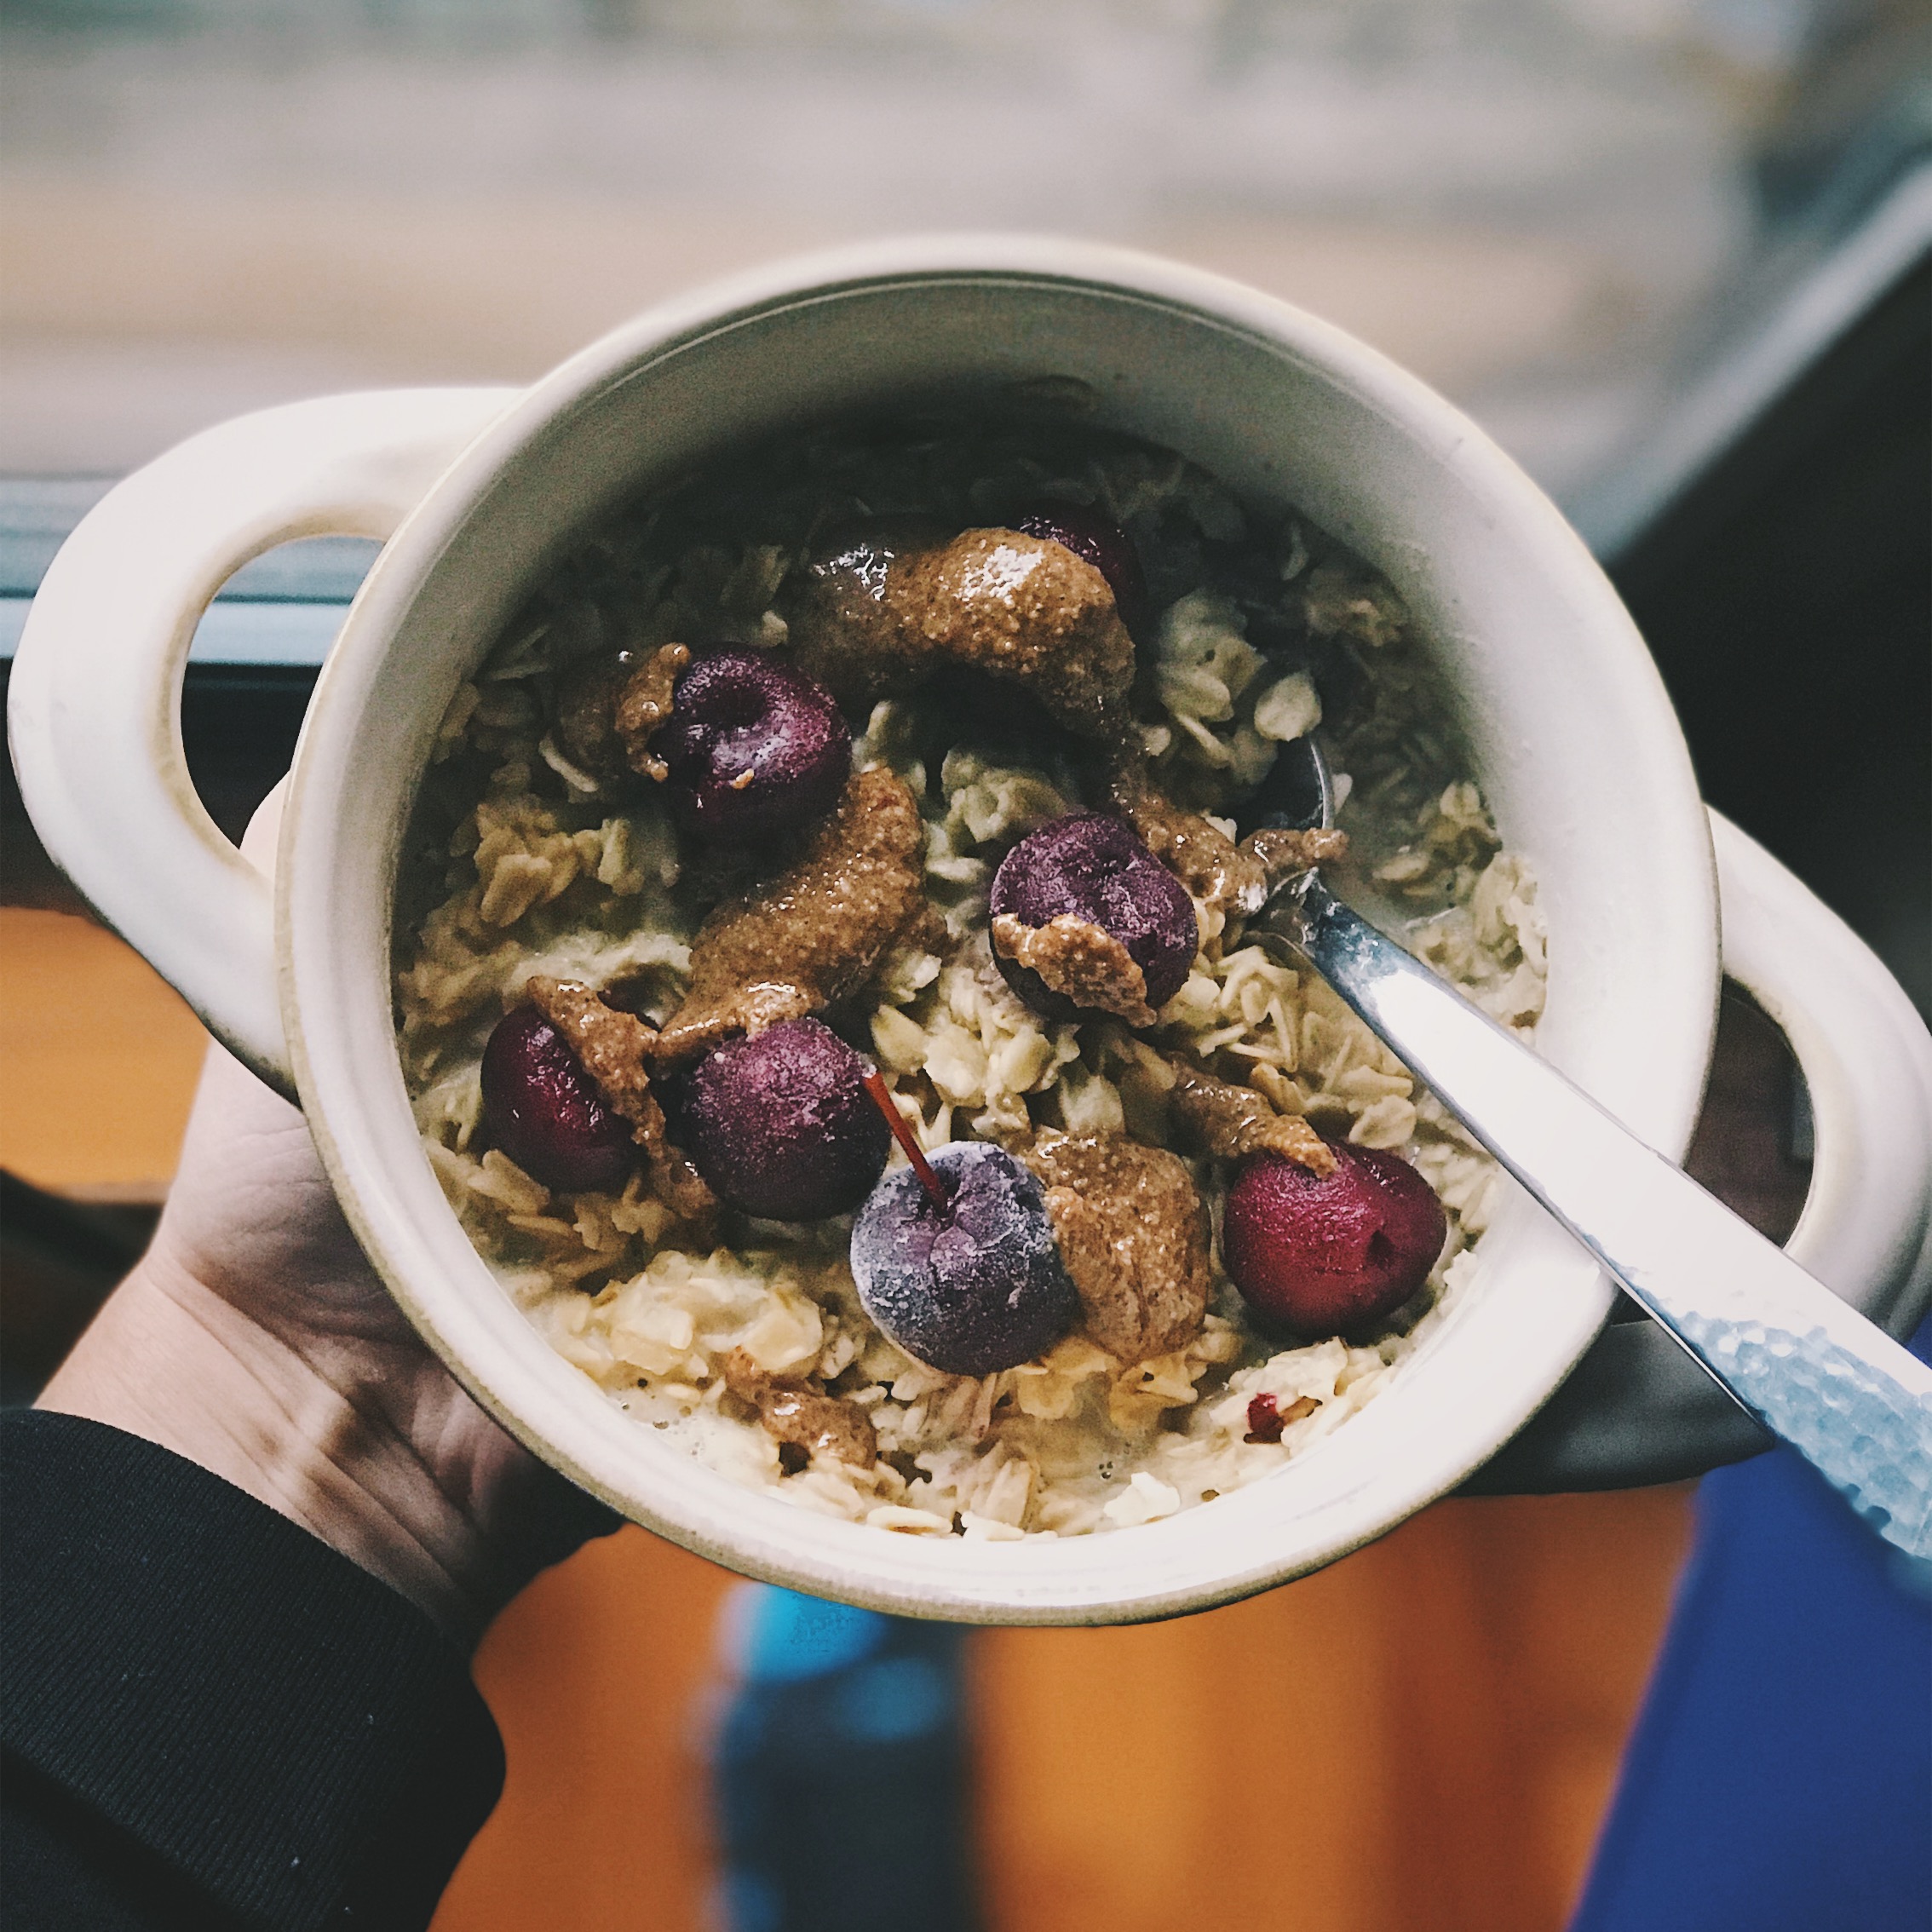
Cherry Vanilla Oats with Granola Butter

cherry vanilla oatmeal recipe with kween granola butter

Ingredients

  • 3/4 c gf oats 

  • 1/3 c vegan vanilla protein powder 

  • 1/2 c macadamia milk 

  • Splash of water to cover remaining oats 

  • 8 frozen cherries 

  • A drizzle of granola butter


Instructions

Mix oats, protein, milk and water in a bowl. Microwave for 2 minutes. Stir it up. Add cherries and granola butter and stir it up before you eat! The juice from the frozen cherries melting mixes in and gives it extra oomph! 

Avocado Pineapple Popsicles

avocado pineapple popsicles shed for the wed healthy dessert

Avocado Pineapple Popsicles

Well there has been a lot of debate over these bad boys. My first bite I was apprehensive, but by the time I finished, I thought I wouldn’t change a thing. Others thought it needed more sweetness. Others thought lime would be a good addition. I’ll let you try them and you decide for yourself! This is a perfect maintenance #treatyoself! It won’t hinder your wedding bod and is a super satisfying treat! .⠀

Ingredients

  • 1 ripe avocado 🥑 ⠀

  • 1 20oz can of pineapple 🍍 chunks in juice

  • A quick squeeze of 🍋 ⠀

Instructions
Blend ingredients. Pour mixture into popsicle mold and freeze overnight (you probably just need a few hours but I’m not actually sure). ⠀

Buffalo Quinoa

franks hot sauce quinoa healthy recipe super bowl

This is one of my favorite healthy meals that really feels like it’s not. Hot sauce creates the impression that the food is indulgent, but sneaky- you’re eating QUINOA AND BROCCOLI! It’s perfect to hit your Super Bowl junk food craving this weekend! I’ve been making this for years and this is a 100% #shedapproved variation. It only takes 20 minutes to make AND it’s #vegan if you skip the cheese! Feel free to improvise with adding any other veggies you love! I will warn you, this dish does pack some heat, so if you are sensitive to spice, you may want to skip this one. Enjoy! -AHS


Buffalo Quinoa

Buffalo Quinoa shed for the wed healthy recipes

Serves 3-4

Ingredients

  • 1 cup quinoa⠀

  • 2 cups water⠀

  • 1/4 cup Frank’s Hot Sauce (original - NOT the wing sauce - it’s not Shed approved)⠀

  • 1/2 large yellow onion, sliced⠀

  • 2 tbsp olive oil (plus a drizzle)⠀

  • Salt to taste⠀

  • 2 cups frozen broccoli ⠀

  • Optional: sprinkle of feta or blue cheese (month 1 only)


Instructions

In a medium size pot, add quinoa and water. Bring to a boil and then turn down heat. Simmer for about 15 minutes or until all the water is absorbed. ⠀

Meanwhile, add olive oil to a small pan over medium heat. Add onions and sauté until they are nicely browned. Add salt to taste. ⠀

Steam broccoli in the microwave. You could use steamer bags or I just put the florets in a bowl with a little bit of water and microwave for 4 minutes. Be sure to drain any excess water.

When quinoa is ready add Frank’s and a drizzle of olive oil. Mix in onions, broccoli, and optional feta/blue cheese. Serve warm. ⠀

#ShedApproved Ribollita

bon appetit basically ribollita healthy recipes shedding for the wedding

YEP. I think it’s safe to say we are deep into winter. Because of this “once in a generation” level of cold, I have been craving something super cozy. Since meat has been tough on my stomach to prepare, I’ve been looking for protein packed vegetarian meals. I was deep in Instagram stories, and saw the folks at Basically (by Bon Appetit) making this dish–it fit the bill perfectly.

I used a crusty sourdough loaf and Ezekiel bread- but the original recipe calls for a crusty country bread (mmm yummy!), but to make it Month 1 #shedapproved just use Ezekiel. I honestly barely noticed the difference between the Ezekiel and sourdough once it was all together! I would skip going back for seconds if you are shedding, but doubtful you would even want to! It is incredibly filling!

Other changes I made: I skipped the beginning steps and just used Trader Joe’s amazing Mirepoix. Easy > Everything. Also, I had thought I had a chunk of parm at home, but it turned out to be Romano, so I ended up a bit of pre-grated parm and Romano early on instead of the parmesan rind, however, if I hadn’t of needed to I wouldn’t have skipped that step. I’m sure the rind really adds depth!

This recipe was perfection, and did not disappoint! While this is essentially a bread soup, it is guilt free! Loaded up with kale, tomatoes, onion, garlic, carrots, celery, and beans it packs a nutritional punch! It is the perfect #hygge meal for these soup belly kind of nights! Now, mangia!! -AHS


#Shedapproved Ribollita

ribollita healthy recipe lose weight before wedding

Serves 4-6

Adapted From Bon Appetit (I highly recommend going to the original recipe- they have lovely step by step visuals!)

Ingredients

  • 1 large onion (or use Mirepoix from Trader Joes)

  • 3 medium carrots (or use Mirepoix from Trader Joes)

  • 2 celery stalks (or use Mirepoix from Trader Joes)

  • 8 garlic cloves (I used 6 because they were massive)

  • 2 bunches Tuscan kale

  • 1 small wedge of Parmesan with rind - adapted - used 2 tsp parm/romano mix

  • 1 28-oz. can whole peeled tomatoes

  • ½ loaf Ezekiel bread (about 10 oz.) (adapted to make #shedapproved)

  • ⅓ cup extra-virgin olive oil, plus more for drizzling

  • Kosher salt

  • 1 14-oz. can cannellini beans

  • ¾ tsp. crushed red pepper flakes

Instructions

  1. Place a rack in middle of oven; preheat to 450°. Time to prep your veg! You are going to make a mirepoix, which is just a fancy French word for the combo of chopped onions, carrots, and celery that form the flavor base for a lot of European dishes. First, cut 1 large onion in half through root. Peel and discard skins. Finely chop and transfer to a medium bowl. If using TJ’s Mirepoix skip to step 4.

  2. Wash, peel, and trim 3 medium carrots. Cut in half (or in quarters lengthwise if they’re large), then cut crosswise into ½" pieces. (You can also just chop the carrots down into coins if you don't mind larger pieces of veg in your soup.) Add to bowl with onion.

  3. Chop 2 celery stalks crosswise into ½" pieces. Add to bowl with the rest of the mirepoix.

  4. Smash and peel 8 garlic cloves with the back of your knife. If any of them are left more or less intact after that initial smashing, give them another good wack with the back of your knife so they really open up and start to break apart. Add to bowl, also.

  5. Strip stems from 2 bunches Tuscan kale and discard. Wash if they're gritty or you really care about washing vegetables, then tear leaves into 2" pieces; set aside.

  6. Cut rind off of 1 small Parmesan wedge; set aside.

  7. Place 28 oz. canned tomatoes and their juices in a strainer set inside a medium bowl. (You need that bowl to collect the juice, which you're going to use later—don't throw it out!) Squeeze tomatoes and crush them with your hands while leaving them submerged in their liquid so they don’t squirt.

  8. Tear ½ loaf crusty country bread into 1½" pieces.

  9. Heat ⅓ cup extra-virgin oil in a medium Dutch oven or heavy pot over medium. Add bowl of mirepoix and 2 tsp. salt and cook, stirring occasionally, until vegetables are softened but not browned, 8–10 minutes.

  10. Lift strainer full of tomatoes and give it a few shakes to remove any liquid. Add tomatoes (but not juices!) and cook, stirring occasionally, until some of the rawness is cooked off, about 10 minutes. Giving those tomato solids a chance to caramelize before adding the liquid back in helps to add a lot of flavor to the stew. (Remember: Reserve the juices, you’re going to use them!)
  11. While tomatoes are cooking, drain and rinse 14 oz. canned cannellini beans in the strainer you just used, then add to pot along with Parmesan rindtomato juices¾ tsp. red pepper flakes, and 4 cups water. Bring to a simmer.

  12. Add kale in two additions, stirring often and allowing to wilt in between.

  13. Add about one-third of torn bread (no need to measure, just eyeball it) and cook, stirring occasionally, until coated and warmed through, about 5 minutes more. Taste and adjust seasoning.

  14. Remove from heat. Place remaining torn bread chunks on top of stew. Drizzle generously with olive oil.

  15. Transfer pot to oven and bake stew until thick, bubbling, and bread is golden brown on top, 10–15 minutes.

  16. Ladle stew into bowls, drizzle each generously with olive oil, and grate lots of Parmesan over.

Mason Jar Spinach and Bell Pepper Salad

mason jar spinach and bell pepper salad shed for the wed

Mason Jar Spinach and Bell Pepper Salad

Ingredients

  • ½ tbsp lemon juice 

  • 1 tbsp extra virgin olive oil 

  • ¼ cup button mushrooms, sliced 

  • 3 oz cooked chicken breast (or tender) or 1-2 hard-boiled eggs 

  • 1 bell pepper (yellow, red, or orange), sliced 

  • ¼ cup cucumber, halved and sliced 

  • 2 cups spinach 

  • Salt and pepper 

Instructions

Layer ingredients in 32 oz. Mason jar. Start with lemon juice and olive oil. Then layer ingredients as listed. Shake jar before eating. 

Note: If you don’t have a Mason jar, never fear! Any Tupperware will do—just separate the dressing in a side container. 

mason jar spinach and bell pepper salad