Recipes

Berry Banana Smoothie Bowl

shredding for the wedding berry smoothie bowl

It's officially summer and I am feeling all of the summer vibes. During the colder months, it is much harder for me to enjoy smoothies and/or smoothie bowls. I crave warmth. But when that sunshine hits, I want allll of the refreshing smoothies. Which sometimes can get boring, which is where smoothie bowls come into play. I love to start my day packed with phytonutrients, extra superfood boosts (because summer is all about that glow!), and something else to get me out of my "egg rut" (if you follow me on instagram - you know that I eat way too many eggs!). This beauty is in the Shed cookbook debuting next month! I thought it would be fun to give you a sneak peek! Happy summer and enjoy the gorgeous sunshine!! - AHS


berry banana smoothie bowl

shedding for the wedding berry banana smoothie bowl lose weight for wedding

Ingredients

  • 1⁄2 frozen banana

  • 1⁄2 cup of frozen berries (I used a mixed berry blend)

  • 1⁄3 cup vanilla plant-based protein powder

  • 1 tbsp flax seeds

  • Unsweetened vanilla almond milk

Topping Options

  • chia seeds (shown)

  • bee pollen

  • gogi berries

  • acai berries

  • fresh berries (shown)

  • coconut shreds (shown)

  • sliced almonds

  • pepitas (shown)

  • low sugar granola

  • cacao nibs (shown)

Instructions

Combine all ingredients, using less liquid than your normal smoothie. Blend. Pulsing until it creates a thick ice cream like consistency. If necessary, add more liquid, but try to keep a thicker consistency by using less.  If you are unsure of where to start with the amount of liquid, just add a little bit and pulse, slowly adding more until it actually blends. Note: Pick one topping initially to keep it economical — eventually working any and all of these into your smoothies/ bowls to add great health benefits. 


Update 7/2/18: the original post did not include that the banana and berries be frozen! Whoops! You would have one warm smoothie bowl without them being frozen! :)

GF "Breaded" Chicken Thighs AKA "The Best Chicken I Ever Made"

gluten free breaded almond meal chicken thighs

I was messing around in the kitchen last week, and was craving a breaded-style chicken. I had unopened almond meal in my cupboard, and voila, I came up with "The best chicken I ever made" - according to my husband. I served it on a cauliflower rice stir fry. Which was a random throw together of cauliflower rice, frozen broccoli and bell peppers, powdered ginger, paprika, liquid aminos and a dash of rice vinegar. The combo was amazing! "Breading" the chicken took an extra 5 minutes of prep compared to my usual go-tos, and it was worth it! 

The set up is easy enough! One bowl for egg and one for almond meal. 

The set up is easy enough! One bowl for egg and one for almond meal. 

Have you ever heard of engagement chicken? It's this recipe that every time a woman makes it for her boyfriend she finds herself engaged shortly thereafter. I'm not crazy about the premise of the story, but I feel like this recipe would bear similar results. 😂😂

So without further ado, recipe below! I hope you guys try it. If you do, leave me a comment below! - AHS


almond meal chicken thighs breaded gluten free

Gluten Free "Breaded" Chicken Thighs aka "The Best Chicken I Ever Made"

the best chicken i ever made gluten free breaded chicken thighs

Ingredients

  • 5 chicken thighs 
  • 1 egg, whisked 
  • 3/4 cup almond meal
  • Olive oil spray 
  • Herbs de Provence 
  • Salt and pepper 


Instructions

Preheat oven to 375 degrees Fahrenheit. Grease baking dish with olive oil spray.  

Dip chicken thighs on each side in egg. Batter with almond meal. Add to baking dish. Gratuitously add herbs de Provence, salt and pepper. (Note: You could mix the herbs de Provence in the almond meal mixture, but it turned out great just sprinkling it on top.) Some almond meal will come off where you grab the chicken. I just sprinkled those spots with more almond meal once they were in the baking dish. 

Cook for 40 minutes or until inside temperature reaches 165. I recommend using a meat thermometer - every oven is different, and you don't have to worry about overcooking your chicken for safety. :) 

Serve warm, but it's great cold for lunch the next day too! 

Matcha Collagen Fat Balls

shed for the wed matcha fat ball
alexandra hayden shea matcha fat balls

As a special request, I attempted Lee from America's Coconut Fat Balls. I altered the recipe slightly to fit my needs, one of which was MATCHA. Cuz matcha is always a need right?

matcha collagen fat balls food processor

I added Vital Proteins Matcha Collagen, to boot. Why? Matcha contains 137 times the amount of free radical-fighting antioxidants as other green teas and you now can eat them! AND as you know from my collagen post there are so many benefits to adding collagen into your routine. Hello healthy hair, skin, nails, bones and joints! The works. This was a fun way to try out a new way to get my collagen into the routine!

If you follow Lee, you may know she is obsessed Coconut Butter. I have yet to try the magical substance, and it is not available everywhere. That's where my good friend ghee comes in. I substituted ghee for coco butter, and it worked really well. It probably gave the balls a slightly different texture. I think it's the reason my "balls" really look more like cookies. 

Ghee is a form of clarified butter and it's kinda amazing. It's great for people who are sensitive to dairy and it has a higher smoke point than plain butter. Confused about what it is? Clarified butter starts as unsalted butter that is heated on low heat, which causes the milk solids to separate from the rest of the liquid. The milk solids fall to the bottom of the pan after the butter melts. Any foam sitting on the surface is removed. Ghee takes it one step further- after the milk solids separate the butter is simmered until all of the moisture evaporates and the milk solids brown slightly in the pan. This gives ghee a richer, nuttier flavor. 

I tried at first to fit them on a cookie sheet- my freezer was not big enough for that. So I switched to the plate. 

I tried at first to fit them on a cookie sheet- my freezer was not big enough for that. So I switched to the plate. 

Yep, that's Stolichnaya in my fridge. All about balance right? Fat balls and Stoli, what a combo. 

Yep, that's Stolichnaya in my fridge. All about balance right? Fat balls and Stoli, what a combo. 

Ghee also has a lot of awesome health benefits - one of which is being anti-inflammatory which is one of my bigger qualms with dairy in general. It also helps to improve digestion, build strong bones, and even can act as a detoxifier!  To learn more about ghee's benefits, read this article.

Back to the fat balls... got a little distracted by glorious ghee there for a moment! I also thought I had dates in the fridge- and I only had one! So to make up for it I added a smidge of honey. I thought it would make them super sticky, but it didn't in the end! The original recipe called for 3 dates – if you would prefer that to honey! Also, apologies to any of you with nut or coconut allergies- just reading the recipe may cause you to break out into hives. 

What I loved about the balls is that they are a perfect snack. If I do a smoothie for lunch and I get hungry- it's the perfect balance and it really feels like a treat! I sometimes forget they are in the freezer - and it's so awesome to find them when I am really wanting a treat and can't find anything! Also side note: I do not advise eating these as an after dinner dessert. They are obviously full of fat, and your body will not have a good amount of time to digest them before bed! Better as an afternoon treat. :)

Oh, one more thing! If you want to make these matcha collagen style like I did, Vital Proteins is having a promo this week: buy one get one 20% off. It's going on through 5/28. So take advantage if you can! You can buy here.

Code: SUMMERKICKOFF

So without further ado the recipe is below! 


Vital Proteins did not pay me to write this post. But they did provide the matcha! If you buy through any of the links I provide, I will get a small commission at no added cost to you. :) And just in case you weren't sure, my opinions all my own. 


Matcha Collagen Fat Balls

(adapted from Lee from America's Coconut Fat Balls) 

matcha fat balls

Ingredients

  • 1 cup coconut shreds
  • 1/2 c. coconut oil, melted
  • 1/4 cup ghee, melted
  • 1/4 cup sunflower seeds
  • 1/4 cup pepitas
  • 1/2 cup cashews (I used roasted unsalted)
  • 2 tbsp cacao nibs
  • 1 scoop Vital Proteins Matcha Collagen
  • 1 tsp cinnamon
  • 1 medjool date (pitted)
  • 1 tsp honey
  • 1/3 c. almond milk

Equipment

  • Food Processor
  • (Some say a blender can be used instead, but I haven't tested it.)

Instructions

  1. Blend everything in a food processor until dough is achieved. Dough will be wet, that’s good!
  2. Roll into bite sized balls then lay flat and freeze. Once frozen, place in an airtight container and put back in the freezer for storing. They can last for a while in there! 
  3. Remove from freezer and let thaw 6 minutes before eating for optimal deliciousness!

Cheery Cherry Chia Bowl

cherry chia seed bowl pumpkin seed coconuts cocoa nibs

Hi friends! I owe you guys a recipe, and I just couldn't wait to share this one with you! I called it the "cheery" cherry chia bowl because it brought so much cheer to my morning routine. No joke. If you love cherry, you will love this. The frozen cherries melt into the concoction and their juices bring an awesome flavor. It is a perfect weekday breakfast! Let me know if you try it! Xx, AHS


Cheery cherry chia bowl

cherry chia seed pudding

Ingredients

  • 1/3 cup chia seeds 
  • 1 ½ cup unsweetened vanilla almond milk 
  • 1/4 cup vanilla plant based protein powder
  • 7 frozen cherries 
  • dash of vanilla extract
  • your fave toppings (I used cocoa nibs, pumpkin seeds, and unsweetened coconut shreds)

Instructions

Combine the first 5 ingredients as listed in container of your choice. Stir the protein to eliminate any powder bubbles. With a spoon, try to eliminate any clusters of chia seeds that won't let liquid in. Let sit overnight. Mix in the morning and add your favorite toppings. Enjoy! 

Creamy Cashew Cheese Sauce and Vegan Mac & Cheese

vegan mac and cheese with caramelized onions and spinach

News update! Today, we went live with the "Shed Approved" page of the website. It is your go to resource for things you may need during the Shed program. Go check it out! I will update it occasionally with new finds, too. Also, I decided to test out putting the recipes at the top of the post to make it easier to get to. Babble underneath will give you some other ideas on how to use the sauce! :) Let me know what you think of the new "shop" and format! xo


Creamy Cashew Cheese Sauce

Ingredients

  • 1 1/2 cups roasted cashews (I soaked for about 20 minutes, but my food processor is strong. If you are using a blender that may not have strength, soak for a couple hours)
  • 1 tbsp olive oil
  • 2 tbsp nutritional yeast
  • 1 clove garlic, peeled
  • 1/4 cup of water (use until you reach your desired consistency)

Instructions

Blend ingredients in food processor or blender! Use in the following recipe and store excess in the fridge for up to 5 days. 

    vegan mac and cheese with sedalini

    8D086761-A620-4964-9919-22BEAC759C31.JPG

    Vegan Mac & "Cheese"

    (SErves 4)

    Ingredients

    • 1 tbsp olive oil
    • 1 onion, sliced
    • Salt 
    • 2 cups spinach
    • 12 oz sedanini lentil pasta (from Trader Joe's)
    • Cashew cheese sauce above (use enough to cover pasta)

    Instructions

    In a medium pan, heat olive oil over medium heat. Add onions and salt (coat in a layer). Lower heat to medium-low and stir onions occasionally, making sure that they don't stick to the pan (add more oil, if necessary). Continue until onions are golden brown (this can take as long as 40 minutes), salting occasionally.  Add spinach to onions, coat with oil from the pan and stir until wilted.

    Meanwhile, cook pasta according to directions on package. Drain, and put back into pot. Add cashew sauce, mix well. Serve in bowls with onions and spinach mixture. NOMS. 


    As I mentioned in last week's post the blizzard we had in Chicago really put me in a cooking frenzy.  And severe winter weather means comfort food. I got very excited to try my hand at making cashew "cheese" sauce to make some healthy mac and cheese!  I've seen recipes with butternut squash, but I wanted to keep this as simple as possible. It's a really versatile sauce. You can serve it over: 

    • Any gluten-free pasta - chickpea, brown rice, sedanini, etc. 
    • Steamed cauliflower - mix the sauce with Frank's hot sauce, it's to die for!
    • Chicken with marinara sauce- like a healthy chicken parm! 

    Basically, this is an awesome sub for anything you would want cheesy goodness. I would love to hear if you decide to try it! Cheers to "cheese"! -AHS

    Cashew sauce in all it's glory. 

    Cashew sauce in all it's glory. 

    I clearly did not listen to my own advice, and had lots of onion stick to the pan. 

    I clearly did not listen to my own advice, and had lots of onion stick to the pan. 

    Pumpkin Spice Oatmeal Pancakes (GF, DF, & Sugar-Free!)

    pumpkin spice glutenfree sugarfree dairyfree pancakes with blueberries
    My mom's pup frolicking in the snow. Is this not the most joyful picture you've ever seen??! Photo courtesy of Marju Eisenberg. 

    My mom's pup frolicking in the snow. Is this not the most joyful picture you've ever seen??! Photo courtesy of Marju Eisenberg. 

    Last weekend it was snow heaven. So much snow. Schools were canceled. I measured the snow sitting on top of our flower beds- we ended up with 13 inches! People were cross country skiing in the parks. And yes, I live in Chicago, this should not be shocking. But it was a legit magical snowfall. I don't complain about the snow- I am a weird breed of Chicagoan that gets upset when people complain about the weather all the time. "It's too hot. It's too cold. There's too much snow." Move to LA or take some vitamin D. But really, I have had a garage for the past 4 years so I do not stress about snow. #blessed Chicagoans are kinda crazy with the street parking. Dibs is very real and I have no interest in getting involved in any of that! 

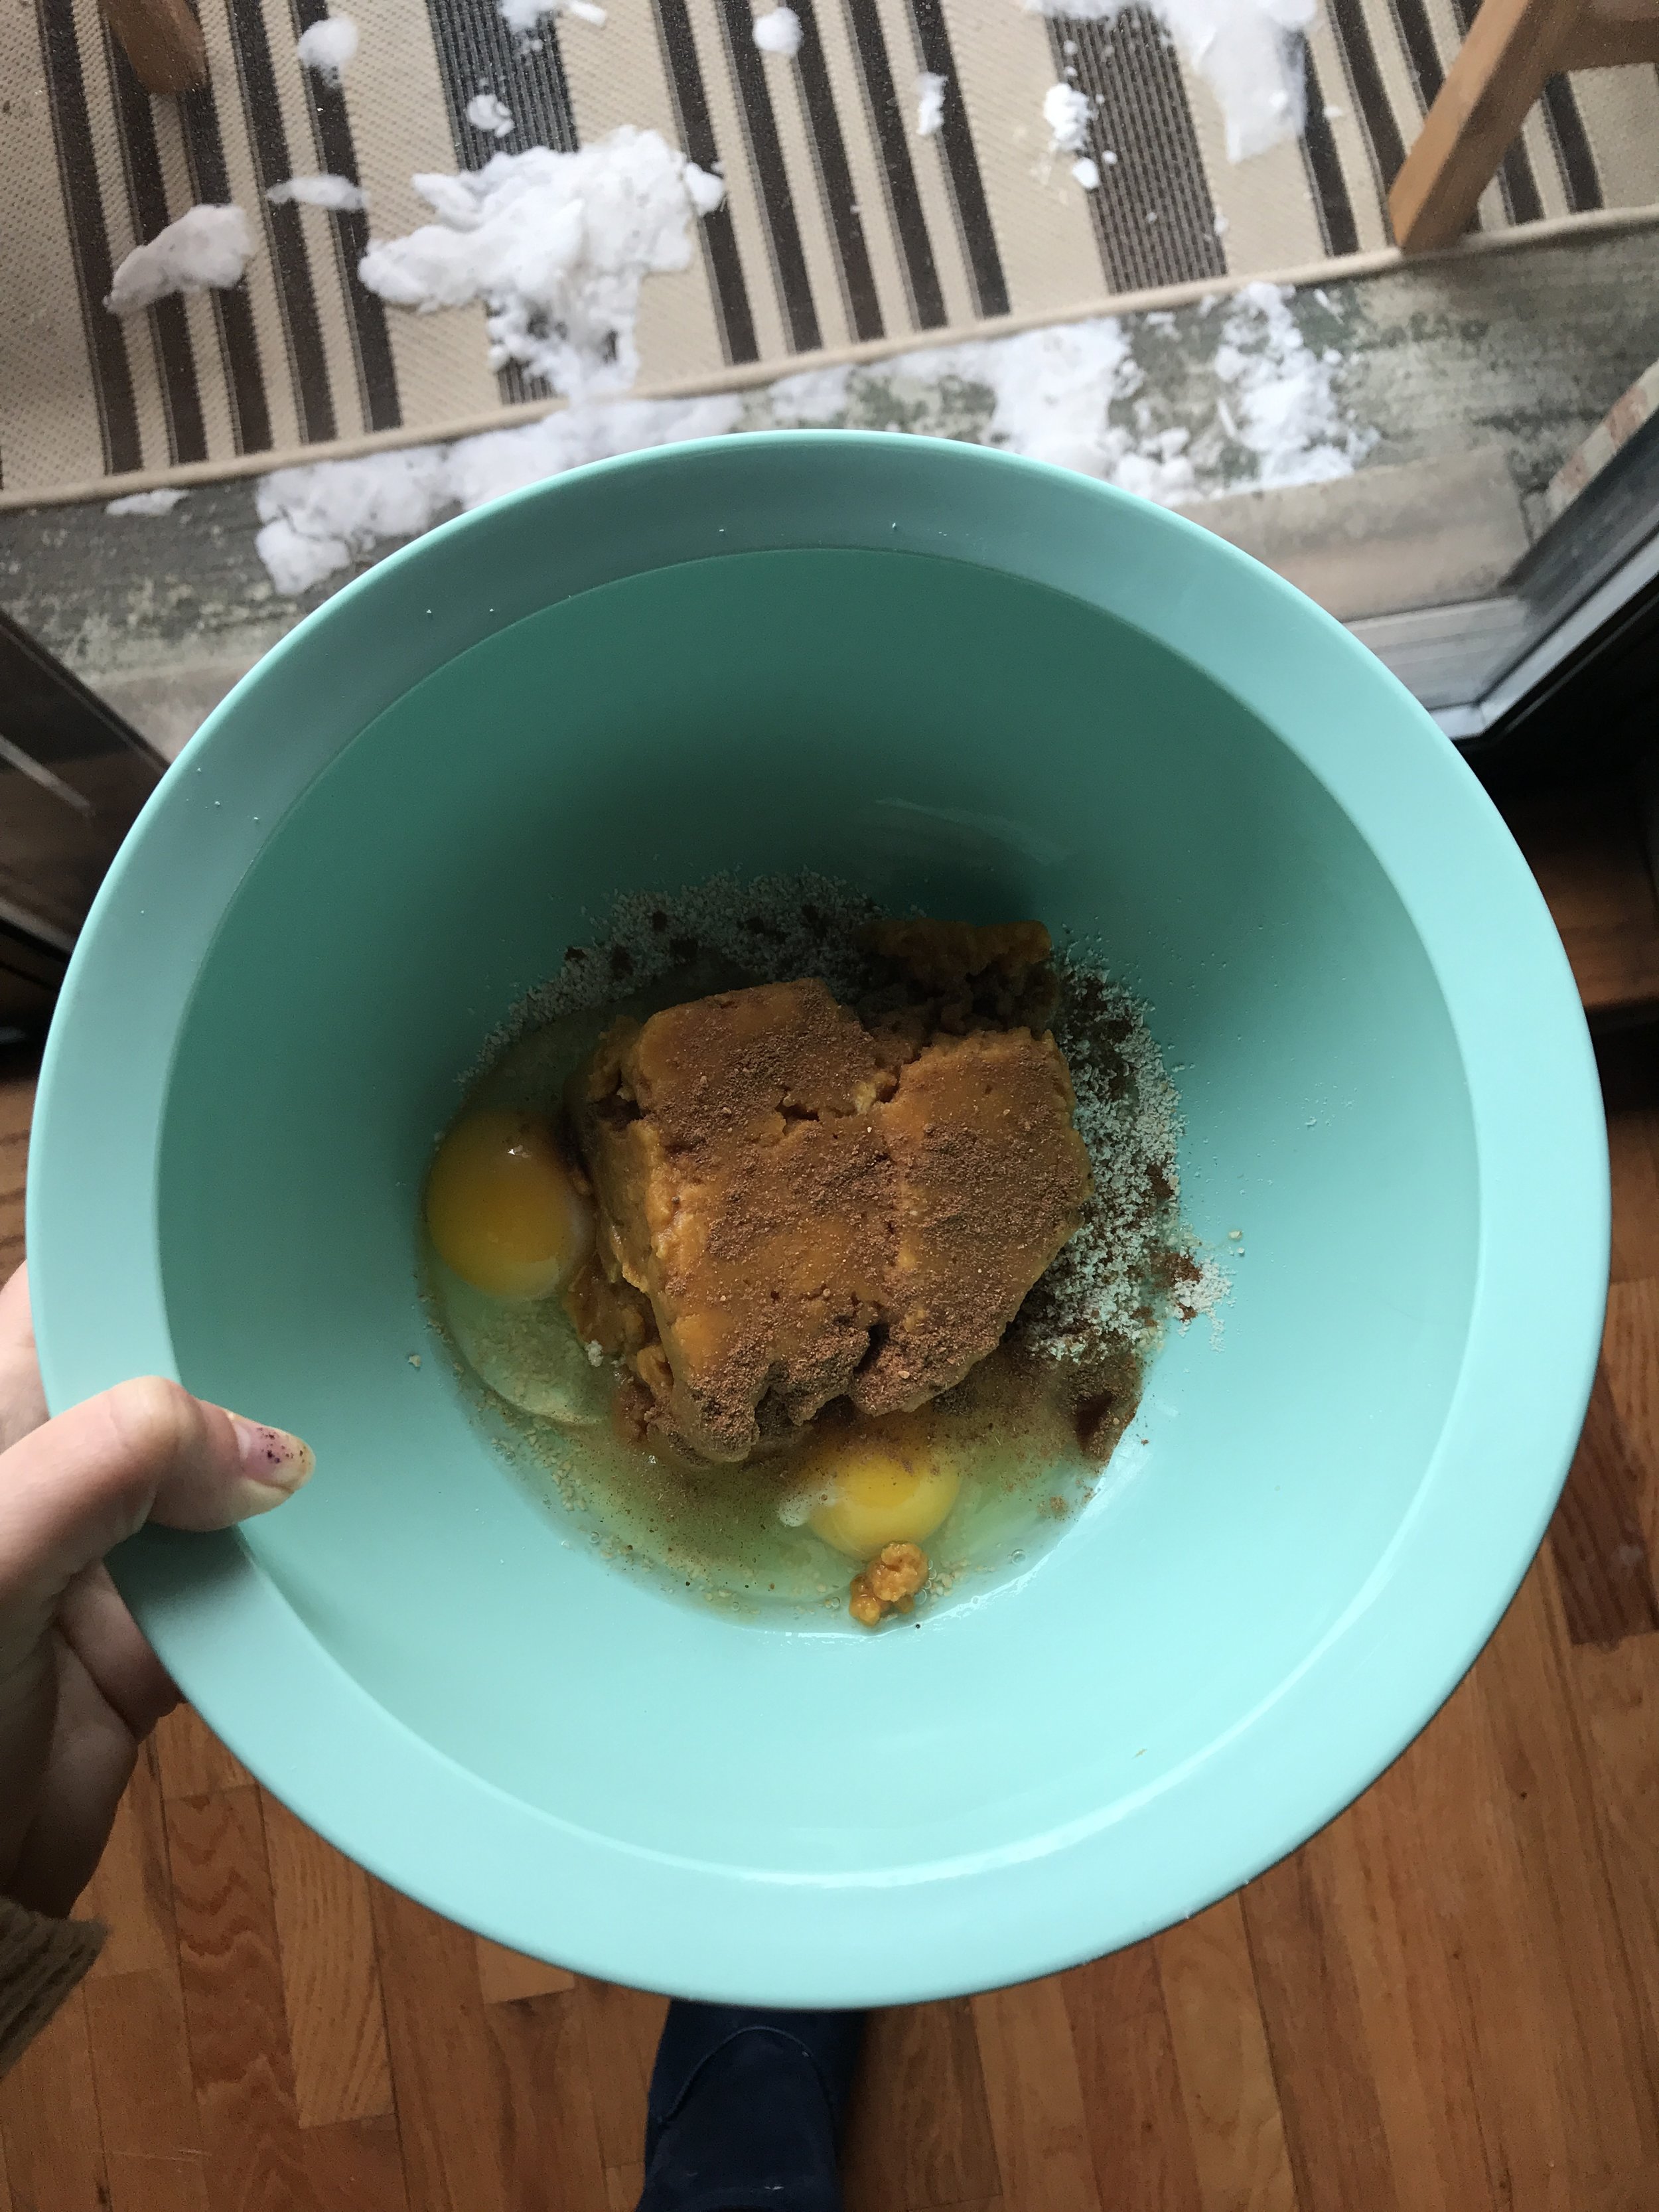
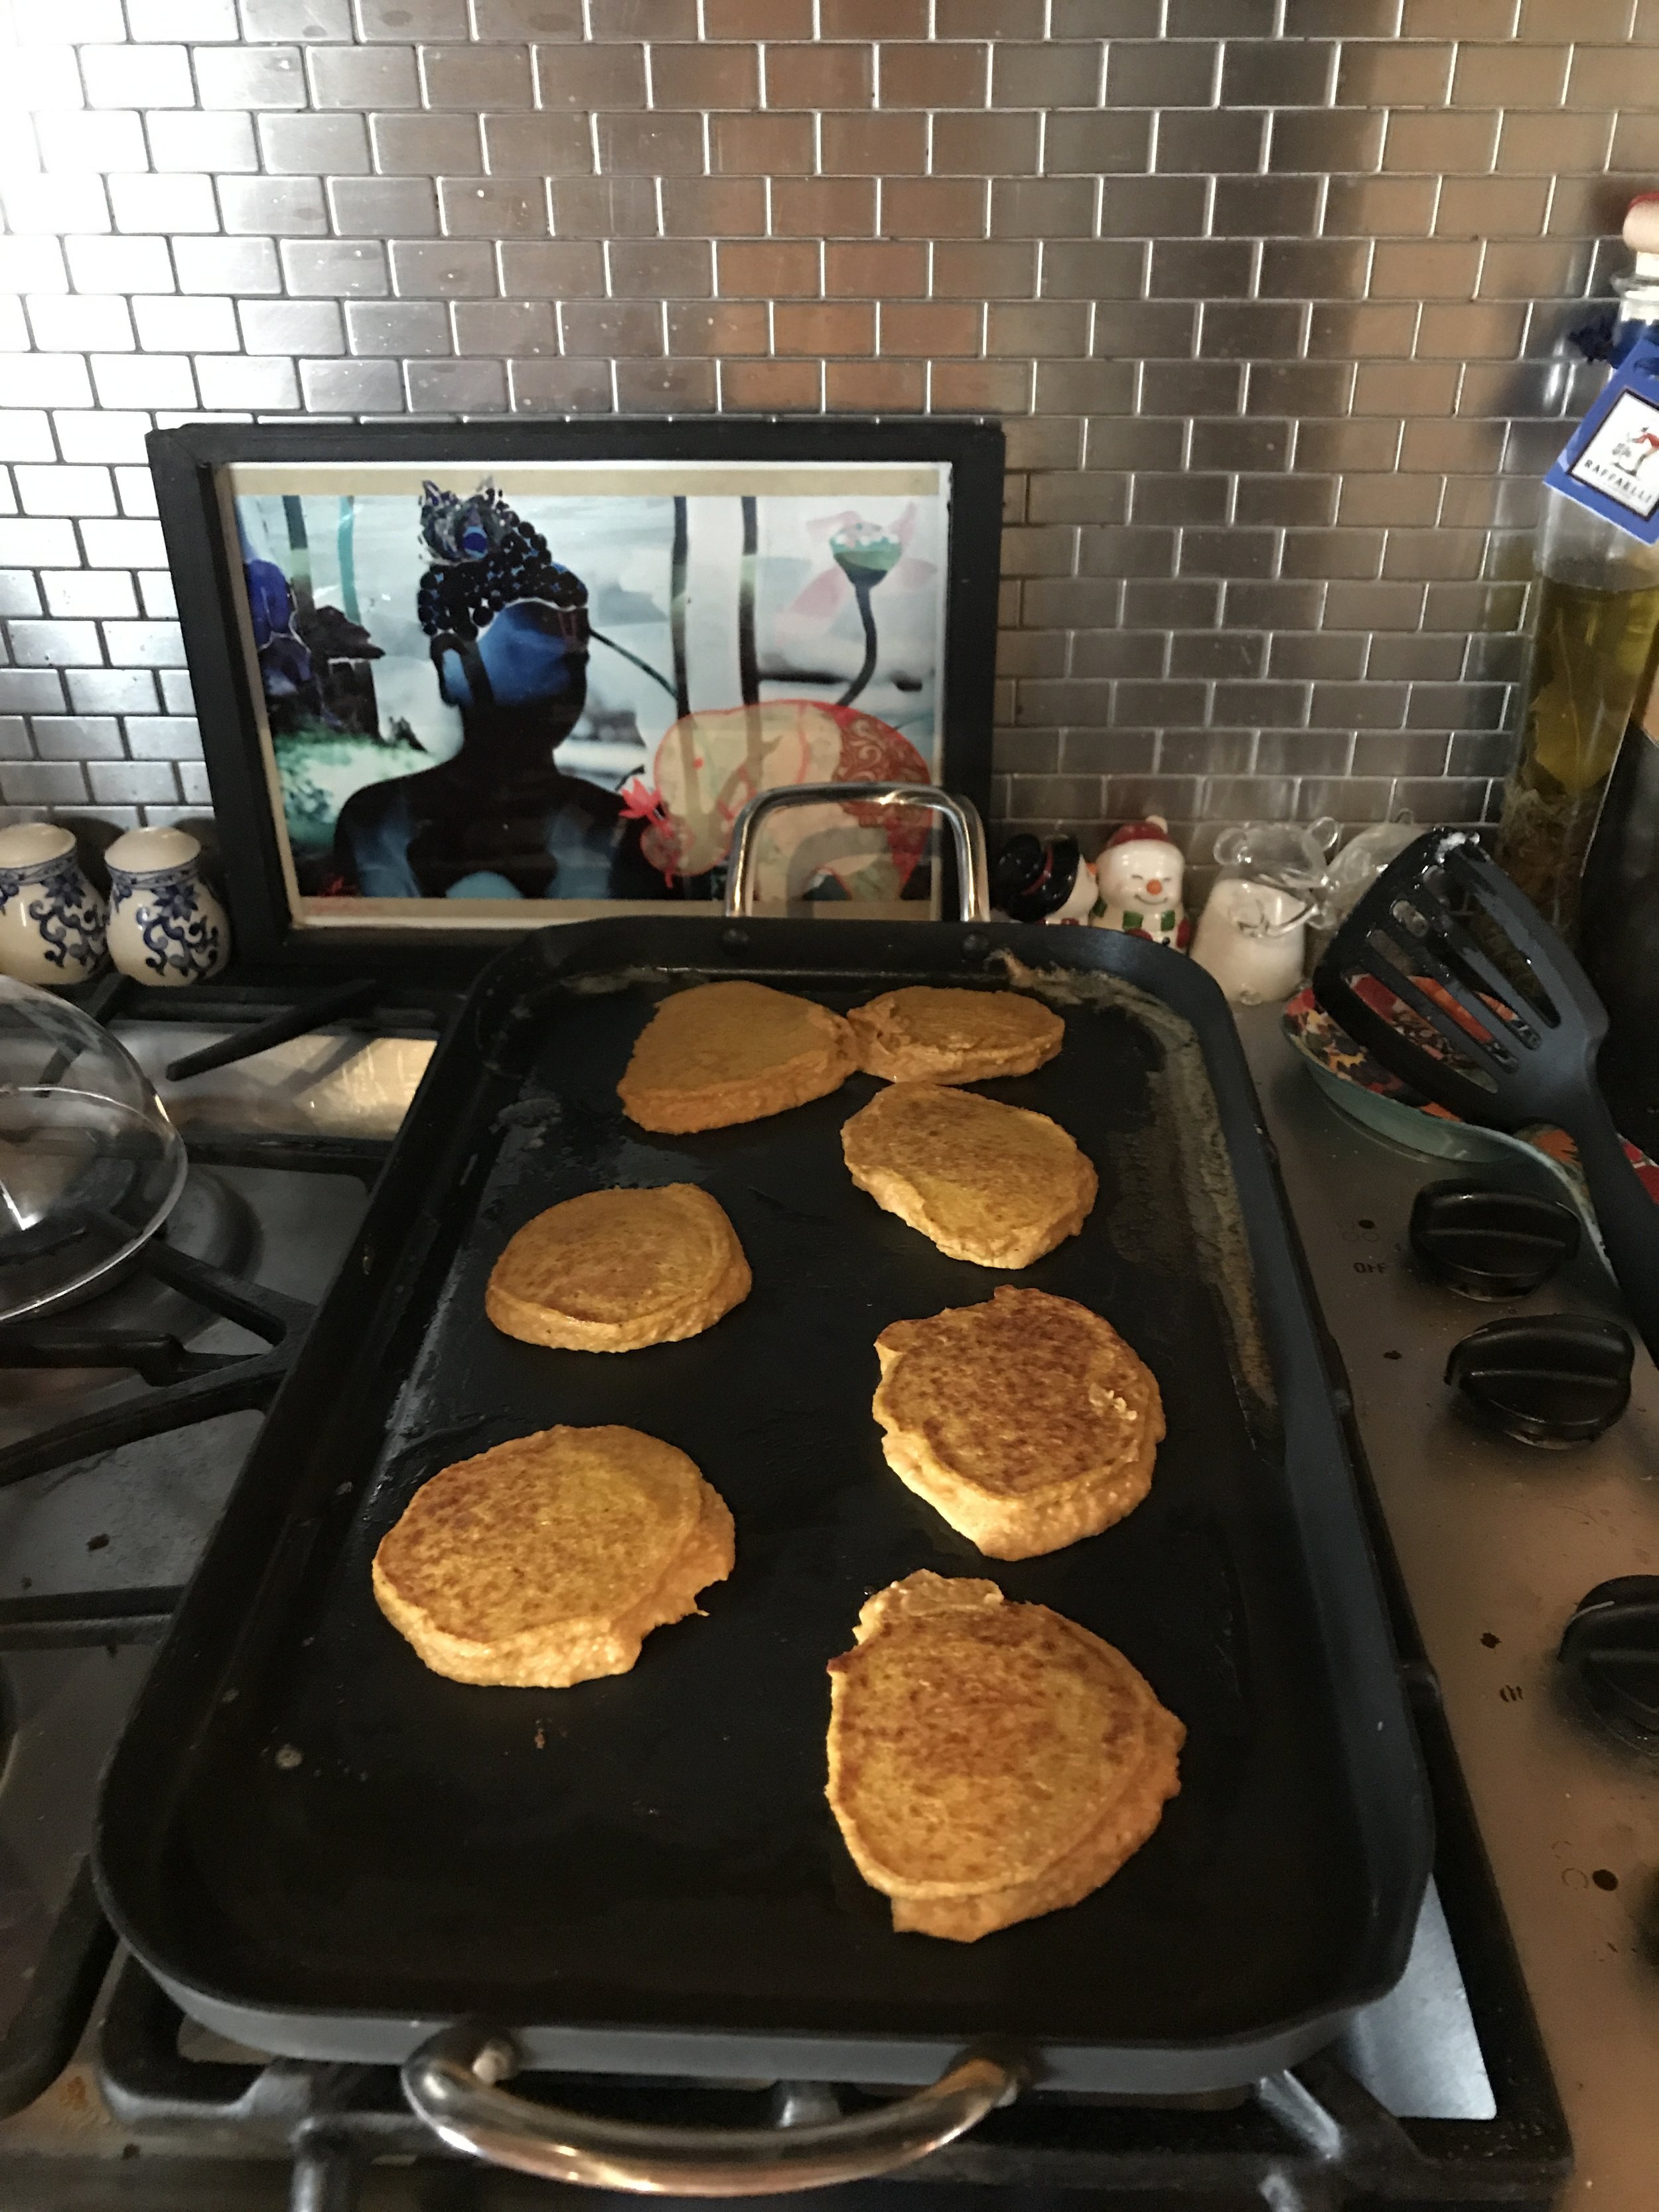
    Anyways, so it was snowy and cozy and you know what that means! Fun in the kitchen! I experimented with quite a few cozy winter recipes that day (more to come soon!) basically because the cold makes me crave carbs. It seemed like a great day to make the oatmeal pancakes from the Shed plan. But because I am incapable of following a recipe to save my life (even my own!) - I ended up improvising and coming up with a new fun variation on the traditional recipe. These pancakes are #shedapproved for both month 1 and 2! 

    I think what I liked most about these was that compared to my favorite banana pancakes, these hold together beautifully. The combination of the oat flour and the pumpkin really make a nice batter! I probably didn't need the eggs- but I'm always glad to include some protein in breakfast! 

    I am also crazy about nut butter and berries. I learned this when I used to work at a juice shop. It is a life-changing combination. 

    The pancakes aren't sweet on their own, so the blueberries really add an extra something to them! 

    Having treats like this that are #shedapproved are really what makes living a healthy lifestyle something that you can do consistently! I highly recommend you make these bad boys. They may just change ya life! 

    Stay cozy, friends!

    AHS


    pumpkin spice oatmeal pancakes with blueberries and peanut butter

    Pumpkin Spice Oatmeal Pancakes

    Ingredients

    • 1/2 cup rolled oats 
    • 2 large eggs
    • 1 tsp vanilla extract
    • 1/2 15 oz can of pumpkin puree 
    • pumpkin pie spice (use liberally)
    • olive oil spray 
    • 1-2 tbsp organic peanut butter 
    • 1/2 cup frozen organic blueberries (or fresh if they are in season)

    Instructions

    Blend or pulse oats in a blender or food processor until oats have the consistency of flour. Transfer to bowl. Add eggs, vanilla extract, pumpkin and pumpkin pie spice to bowl. Mix thoroughly (I used a hand mixer, you could use a tabletop mixer as well).

    Heat a nonstick skillet lightly coated with olive oil spray over medium heat. Ladle batter into skillet to form pancakes. Cook for about 3 minutes. When they look like they have a solid base, flip. Cook for an additional minute or so until they have firmed and are golden brown. Serve with peanut butter and berries on top. 

    Notes

    • While all oats should be gluten-free, due to how they are processed in the U.S. - often times they are not. Check the label to ensure they are gluten-free!
    • I don't keep my food processor out all the time. So if you want, you can pulse extra oats to make this task easier for the next time. Do it in small batches, the food processor will not work as well with large quantities. I store my leftover oat flour in a sealed container in the fridge. 
    • Alternatively, you can use butter on the skillet and on the pancakes if you aren't into the peanut butter berry combo. Note: this makes them only #shedapproved for month 1.  

    Three Sisters and Feta Spinach Quinoa Cakes

    three sisters and feta spinach quinoa cake

    There was a restaurant near my old job called Moxee. It recently closed (shame, it was really good!), and they had a dish called the "Three Sisters." To be 100% honest with you, I never had ordered it because 1) beans cause indigestion for me - and I didn't want to eat them at work and 2) typically work was paying, and I went for a higher priced item, like a blackened salmon salad. That being said, this was a favorite for a lot of my colleagues (apparently they didn't have the same issue with beans... *side eye*).  I was asked recently to try and recreate it. The humor in all of this is that I had never eaten it. So I basically I took the ingredients and made my own #shedapproved version. 

    But first, I was intrigued, I hadn't heard of the "three sisters" before this, so I did a quick google, and I was fascinated by my findings. According to the all-knowing Wikipedia, apparently, the three sisters are the three main agricultural crops of various Native American groups in North America: winter squash, maize (corn), and climbing beans.

    "The three crops are planted close together and benefit from each other. The maize provides a structure for the beans to climb, eliminating the need for poles. The beans provide the nitrogen to the soil that the other plants use, and the squash spreads along the ground, blocking the sunlight, helping prevent the establishment of weeds. The squash leaves also act as a 'living mulch', creating a microclimate to retain moisture in the soil, and the prickly hairs of the vine deter pests. Corn, beans, and squash contain complex carbohydrates, essential fatty acids, and all eight essential amino acids, allowing most Native American tribes to thrive on a plant-based diet."

    I mean, I don't know about you, but I think that this is pretty much the most amazing thing ever. How cool that the Native Americans figured this out: 1) From an agricultural standpoint and 2) from a biological, nutritional perspective. This inspired me to do the dish justice. I got to work. 

    Here was the menu description: "Vegetarian hash with roasted butternut squash, corn, and pinto beans (3 sisters) topped with sweet peppers, onions and a light roasted garlic sauce with a grilled herb polenta cake."

    Well, no knock to polenta, but it's not shed approved, so it was out. To give homage to our South American Native Americans (hello Incans!), I thought quinoa could be a good substitute. As I had never made a "quinoa cake" before, I looked to pinterest for inspiration. It did not disappoint. I found a recipe from the Domestic Superhero that seemed would work perfectly. There was a catch, she had used breadcrumbs in her recipe (not Shed approved) – would it still work? Well spoiler alert: it worked just fine without them. Didn't miss them either! 

    Also, I made one other big change to the original menu item - the light roasted garlic sauce became tzatziki. This gives it a bit of a mediterranean flair (I'm Lebanese, what can I say, can't help myself!). The lemon zest and feta were just asking for the tzatziki. While these vibes seem to not be the same, I can tell you, the flavors complimented each other beautifully.  

    The rest of the recipe seems to speak for itself. I hope you try it- it's perfect for #meatlessmonday! Have a great day, beauties! 

    -AHS


    Three Sisters 

    Ingredients 

    three sisters feta spinach quinoa cakes 2
    • 2 tbsp olive oil, divided
    • 1 lb 5 oz butternut squash, cubed
    • 2 cloves garlic, minced
    • 2 tsp liquid aminos 
    • 1 can pinto beans, rinsed and drained
    • 1 can sweet corn, drained (it's winter- in the summer I would use fresh!)
    • 1 cup yellow onion, chopped 
    • 5 small sweet peppers, deseeded and sliced horizontally

    Instructions

    Heat 1 tbsp olive oil over medium heat. Add butternut squash, cook for a couple minutes. Add garlic and add liquid aminos. When butternut squash is 75% finished (softer, but not cooked all the way through), add pinto beans and corn. Mix well. Cook until butternut squash is soft. 

    While butternut squash is cooking, in another skillet heat 1 tbsp olive oil over low heat. Add 1 cup chopped onion and sweet peppers. Cook until onions are browned and peppers are soft. 

    Serve onion and pepper mix on butternut squash mixture. Pair with Feta Spinach Quinoa Cakes. 

    feta spinach quinoa cakes

    (Adapted from Domestic Superhero

    Ingredients 

    • 1 tablespoon extra-virgin olive oil
    • 1/2 cup finely chopped onion
    • 2 garlic cloves, finely chopped
    • 5 ounces chopped baby spinach
    • 2 large eggs, beaten
    • 1 1/4 cups cooked quinoa
    • 2 ounces crumbled feta cheese
    • 1/4 teaspoon grated lemon zest
    • Tzatziki sauce

    Instructions

    Heat the olive oil in a large skillet over medium heat. Add the onion and garlic and cook, stirring often, until softened, about 4 minutes. Add the spinach and cook, stirring often, until wilted, about 3 minutes. Transfer the mixture to a medium-size bowl.

    Add the eggs, quinoa, feta, lemon zest, and 1/4 tsp black pepper and mix well. Let the mixture sit for a few minutes to allow the bread crumbs to absorb some of the moisture.

    Wipe out large skillet, and add extra virgin olive oil. Heat for a few minutes.

    Form quinoa patties about 2 1/2 inches in diameter and 1/2 inch thick. Place the patties in skillet, in batches if necessary. Cook the patties until they’re browned on the outside, 4 to 5 minutes per side, and then flip.

    Serve with a dab of Tzatziki sauce on each patty. 

    Notes

    • I eliminated breadcrumbs, a homemade sauce, and dill from the original recipe. 
    • Breadcrumbs were eliminated because they are empty calories. The recipe works without them, but I’m sure it would be great with them as well. 
    • To make life easier I thought it best to use pre-made Tzatziki which already has dill in it. Thought doubling up on dill was unnecessary. 
    • Lastly, you could try baking the patties as well to time the meal better. 

    Update 2/13/18: The first version of this post was missing the measurement for butternut squash. Error is now corrected. 

    Peach Vanilla Chia Seed Pudding

    Peach vanilla chia seed pudding 2

    The past couple weeks I really have not been home very much. Between post-Thanksgiving travel, my boo traveling for work, and spending time at the hospital with my step-dad - I haven't wanted to go to the grocery store, buy a bunch produce and then have it all die before I can use it. 

    So for meals, I have been trying very hard to utilize what I already have in the house (which is why you saw me eat coconut chips for lunch yesterday. Sad.). It is also helping me save money, because all my money typically goes towards food. 

    Last night's dinner was Trader Joe's frozen turkey burgers (no buns) with balsamic caramelized onions along with some frozen broccoli steamed in the microwave with lemon and romano cheese. Pretty dang good. 

    Yesterday I used the last of the eggs, which by now, you have realized is my go to brekky of choice. Instead of going to the store like a normal human, I chose the alternative, find a way to make what I had in the house work. And I'm so glad I did! 

    Thus today's recipe inspiration emerged. I had a whole tub of frozen peaches from last summer. I had frozen them at their peak ripeness (bought too many, couldn't eat them all!!) so they have a perfect flavor! I have heaps of chia seeds (my preferred add on for my omega 3s!). I still had some almond milk. I still had protein powder. 

    I made Peach Vanilla Chia Seed Pudding and it was perfect. I devoured it. My husband loved it. Even though it is cold outside, it was like a fresh taste of summer coming to warm me up! 

    See the recipe below. You are over the hump babes! Happy Thursday! xx


    Peach Vanilla Chia Seed Pudding

    overnight PEACH vanilla chia pudding (serves 1)

    Ingredients

    • 1/2 cup peaches
    • 1/3 cup chia seeds 
    • 1 ½ cup unsweetened vanilla almond milk 
    • 1/3 cup vanilla plant based protein powder

    Instructions

    Combine ingredients as listed in container of your choice. Stir the protein to eliminate any powder bubbles.  Let sit overnight. Mix in the morning. Enjoy! 

    NOTE: I know not everyone has access to perfect peaches right now, but you can find frozen peaches at the store- just make sure there aren't any syrups added!

    Sweet Potato Turkey Bowl

    Sweet Potato Turkey Bowl

    Hey y'all! How have you been doing on your daily gratitudes? I would love to here all that you are thankful for! Remember to tag me and use the #shedgratitudechallenge if you decide to post!

    Today I wanted to share the recipe for one of my fave #shedrecipes, the Sweet Potato Turkey Bowl. You may have noticed, I am obsessed with sweet potatoes and root vegetables in general. They are just so nourishing and satisfying. This week has been particularly crazy with a very sick family member, so it is nice to fall back on the quick and easy "tried and trues" when chaos ensues. (I didn't mean to make that rhyme, I swear.) 

    I keep wanting to use the word "nourish" over and over - because this bowl is the epitome of nourishment. It defines "eating the rainbow": there are so many phytonutrients from the sweet potato, spinach, bell peppers, and onions. The turkey packs in your protein and keeps you full for longer! Honestly, this is the type of meal you could eat every day and it would keep you perfectly balanced. It is an awesome soulful, healthy, eating decision if there ever was one! Nourishing your body & soul! #winning

    ...And did I mention it's flexible? Top this dish off with a fried egg and make it a breakfast!  Or switch up the texture with some nutrient dense kale! Play around and have fun with it, it lends itself so easily for fun swaps! 

    Anyways, I hope you enjoy it! Let me know in the comments if you give it a try! And apologies for all of my cheese this post- couldn't even contain myself!  :D

    xx


    sweet potato turkey bowl 2

    sweet potato turkey bowl

    (serves 1)

    Ingredients

    • 1½ tsp extra virgin olive oil

    • 2 garlic cloves, crushed

    • 1 large sweet potato, chopped into about 1-2 inch pieces

    • 1/2 cup bell peppers, diced

    • 1/2 cup yellow onion, diced

    • ½ lb ground turkey

    • ½ tsp dried rosemary

    • ½ tsp dried thyme

    • 1 large handful fresh spinach (don't skimp! It all wilts in beautifully!)

    • salt and pepper to taste

    Instructions

    In a skillet, sauté oil and garlic over medium heat for 1 minute. Add in chopped sweet potato and stir. After 4-5 minutes, add in peppers and onions. Sauté for about 5 minutes, stirring occasionally. Mix in ground turkey, rosemary and thyme. Break up turkey with your spatula or spoon. Let cook for 5-7 minutes, stirring often. Mix in fresh spinach, and cook for 2-3 minutes, or until slightly wilted. Remove skillet from heat and serve hot. 

    Slow Cooker Chicken Apple Stew

    slowcooker chicken apple stew

    A couple weeks ago I was completely overwhelmed with things to do. I had so much work to do, I was cleaning like a fiend for house guests, I had too many social things on the docket in a very short amount of time, and my husband was out of town for work. 

    ...And I had committed to cooking for our house guests who have eating restrictions. (WHAT WAS I THINKING?!)

    It was time to whip up the old trusty crock pot. 

    I love slow cookers because once you set them, you forget them, and your house smells amazing for hours. It is pretty awesome. I am also absolutely awful at making up recipes for slow cookers. I truly just don't get how to get the right flavors to mix properly when they are cooking slowly for hours. It is a very clear gap in my culinary experience. It's on my to do list. 

    I turned to Whole Foods for a perfect recipe for the occasion. This slow cooker chicken apple stew was super satisfying, and my dinner guests loved it. They talked about it all weekend. <3

    This dish felt perfect on a chilly autumn evening! The Whole Foods recipe is below, but I made some minor tweaks and notes: 

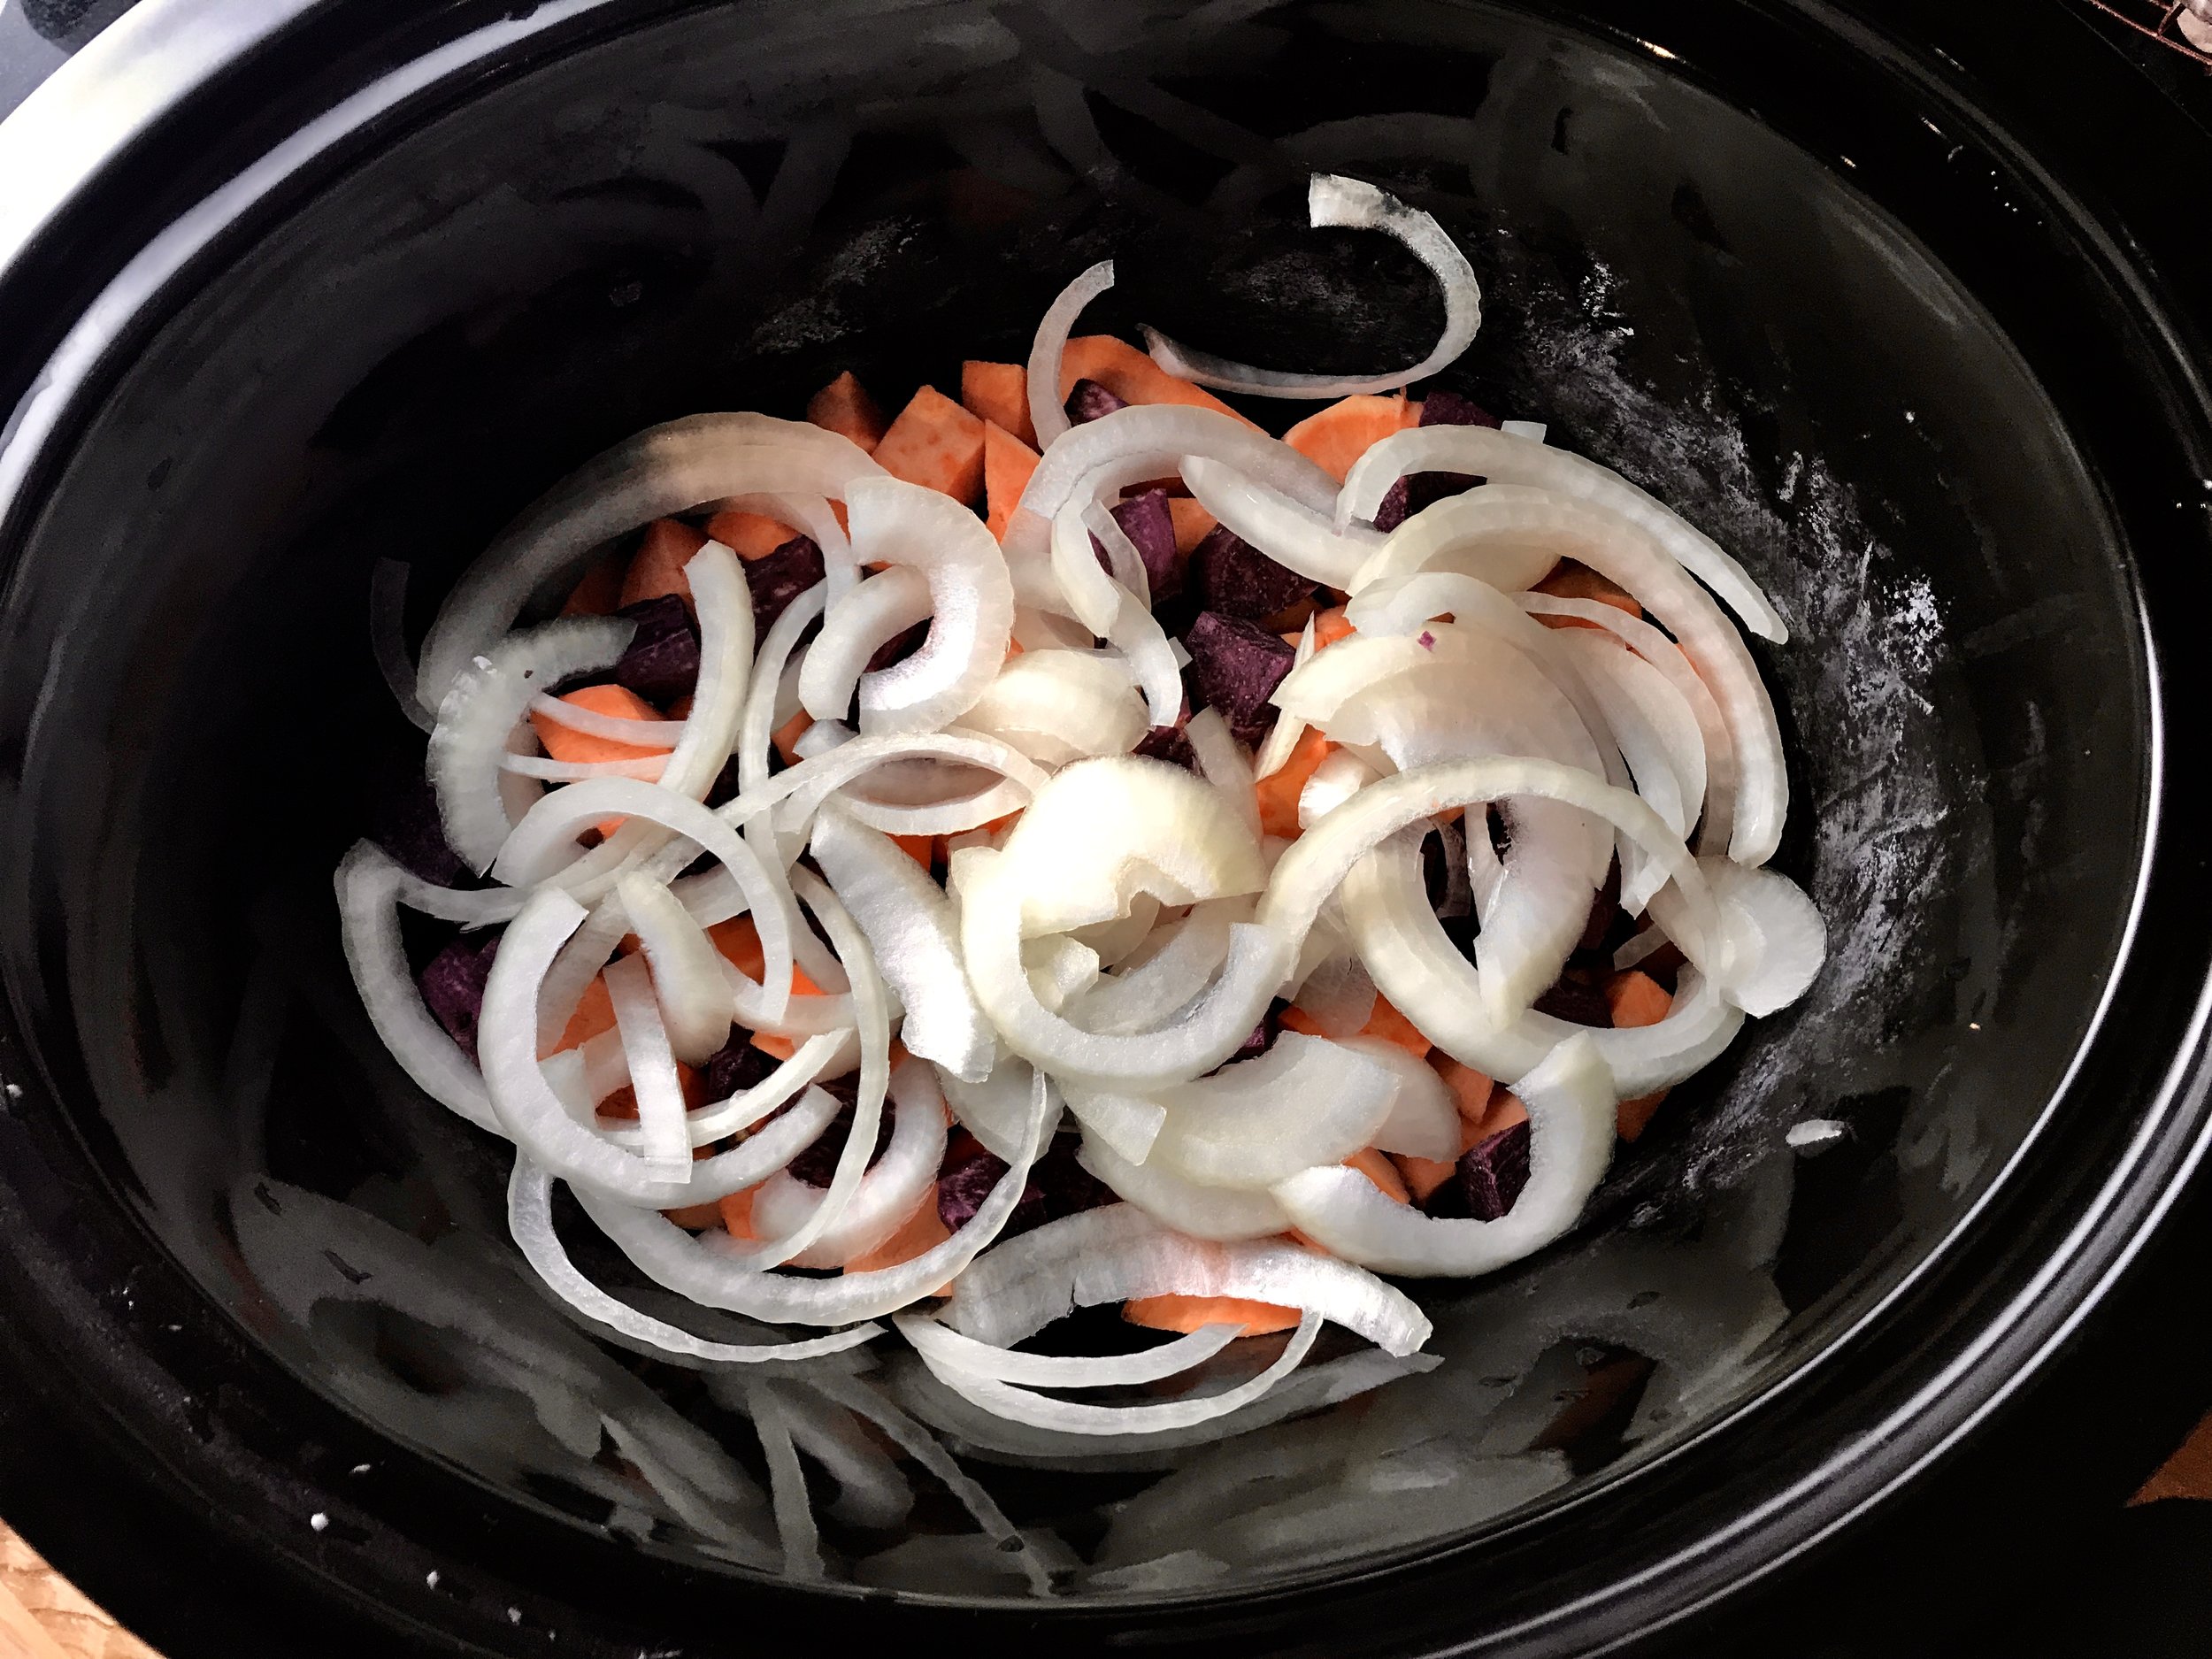
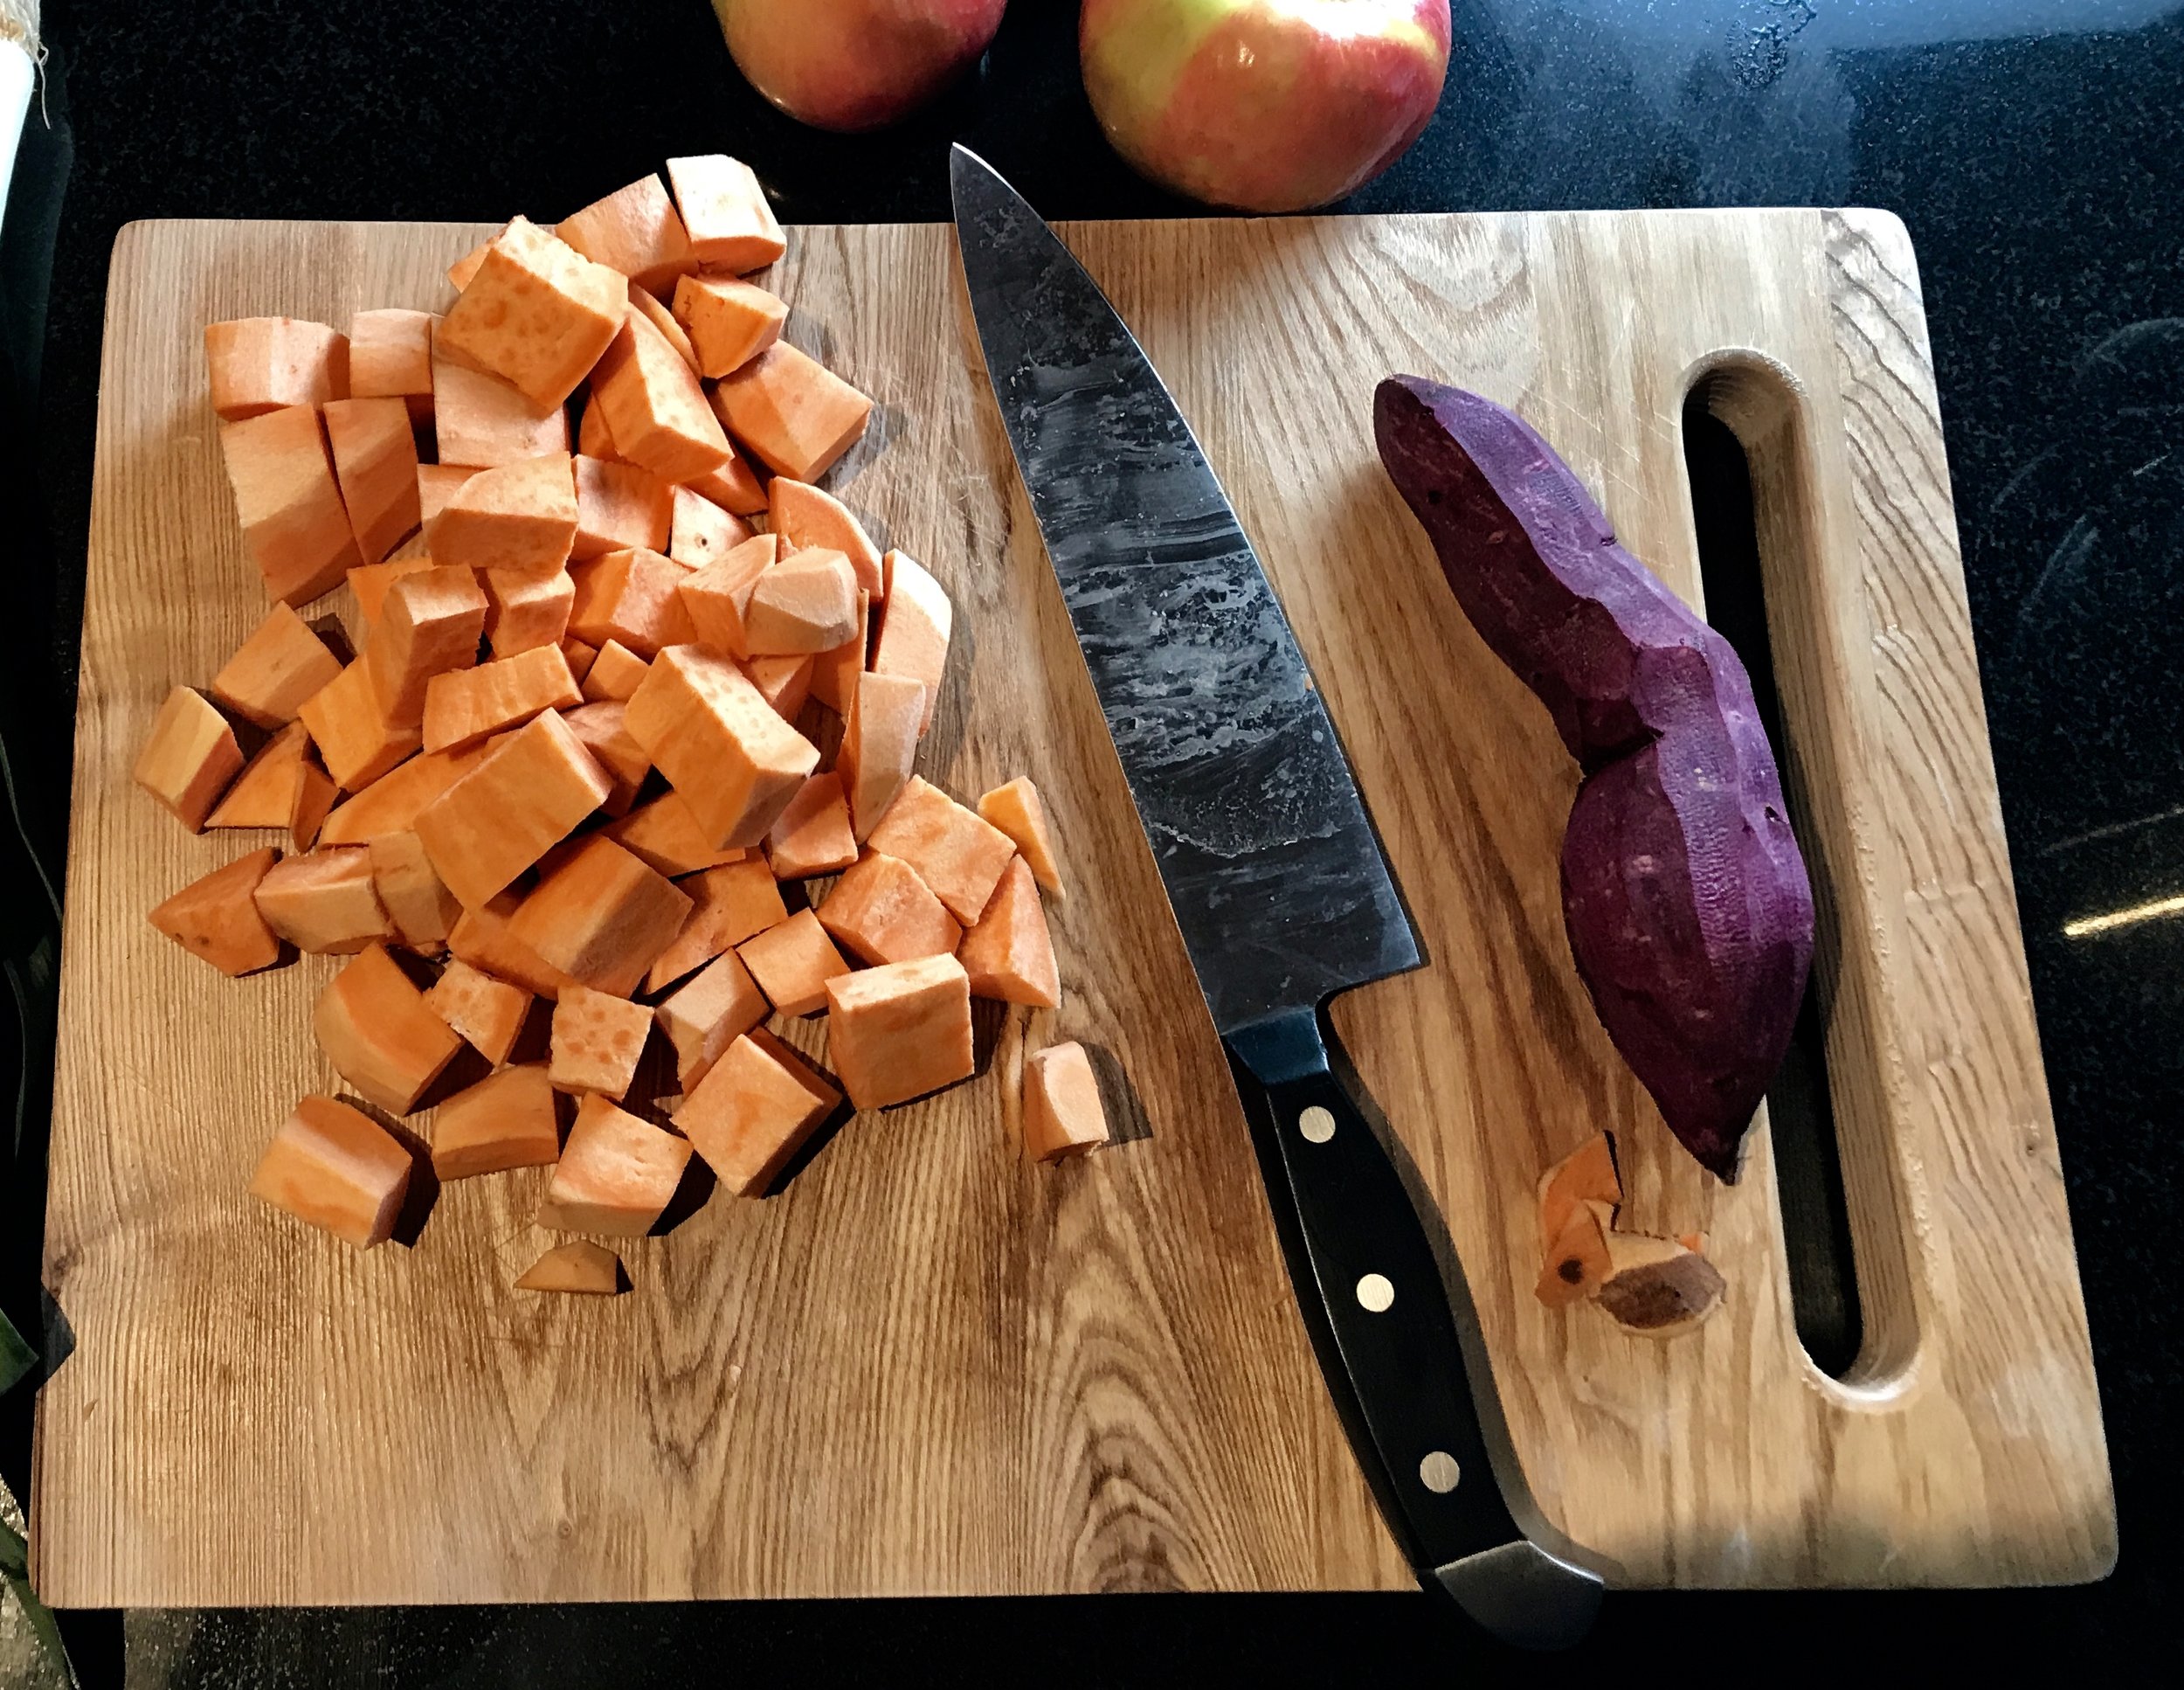
    •  I had purple sweet potatoes, and I swapped one out for one of the normal sweet potatoes.
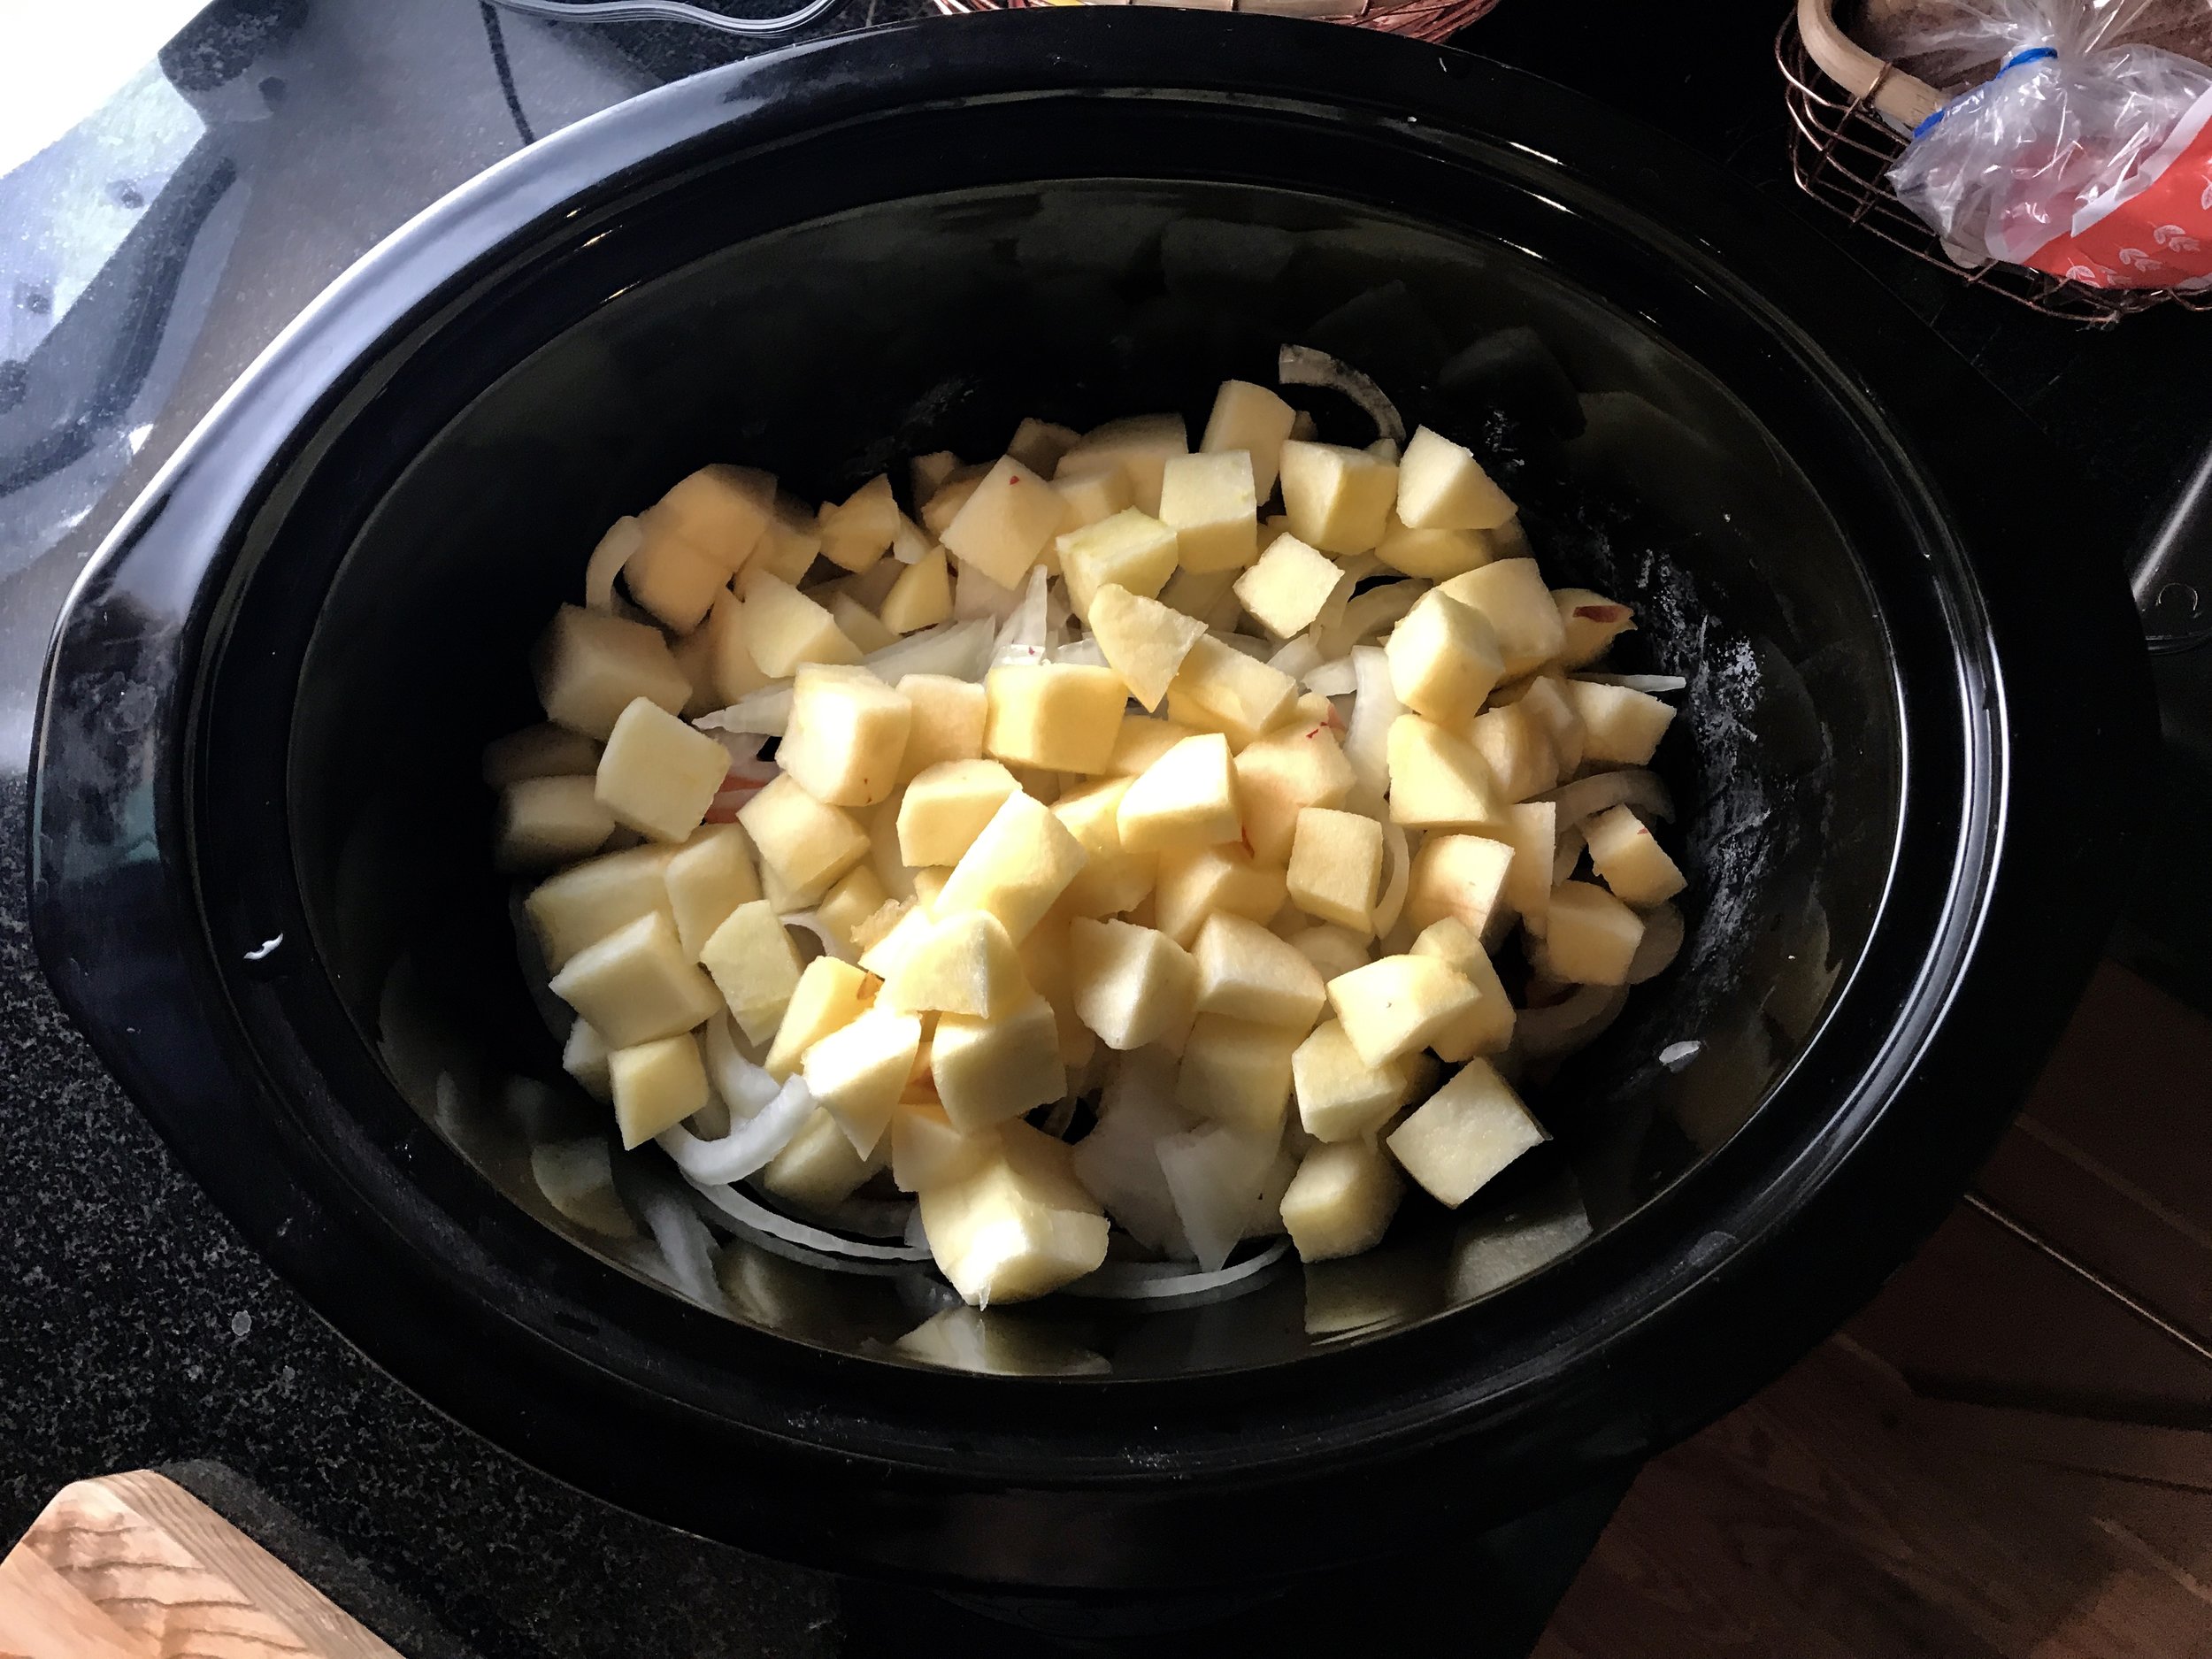
    • Another confession is I am actually notoriously bad at following recipes. I chopped the apples a bit too small, which made it look a bit mushier than I would've liked.  
    • The original recipe indicated it serves 6-8. I would say it comfortably served 4 with everyone wanting more! (Also, those were big bowls, not the baby one shown! Everyone ate before I took the pics :) ) 
    I think this recipe is a knockout. Especially if you want something gluten and dairy-free! I will definitely be making this again soon! 


    Slow cooker chicken apple Stew

    Ingredients

    • 1 1/2 teaspoon whole fennel seeds
    • 3 pounds boneless skinless chicken thighs
    • 3 firm, sweet baking apples, such as Braeburn or Gala, peeled and cut into 6 wedges each
    • 2 medium sweet potatoes (10 ounces each), cut into 1 1/2-inch chunks
    • 1 large sweet onion, halved and sliced
    • 2 tablespoons sliced fresh sage leaves
    • 1 1/4 teaspoon fine sea salt
    • 3/4 teaspoon freshly ground black pepper

    Instructions

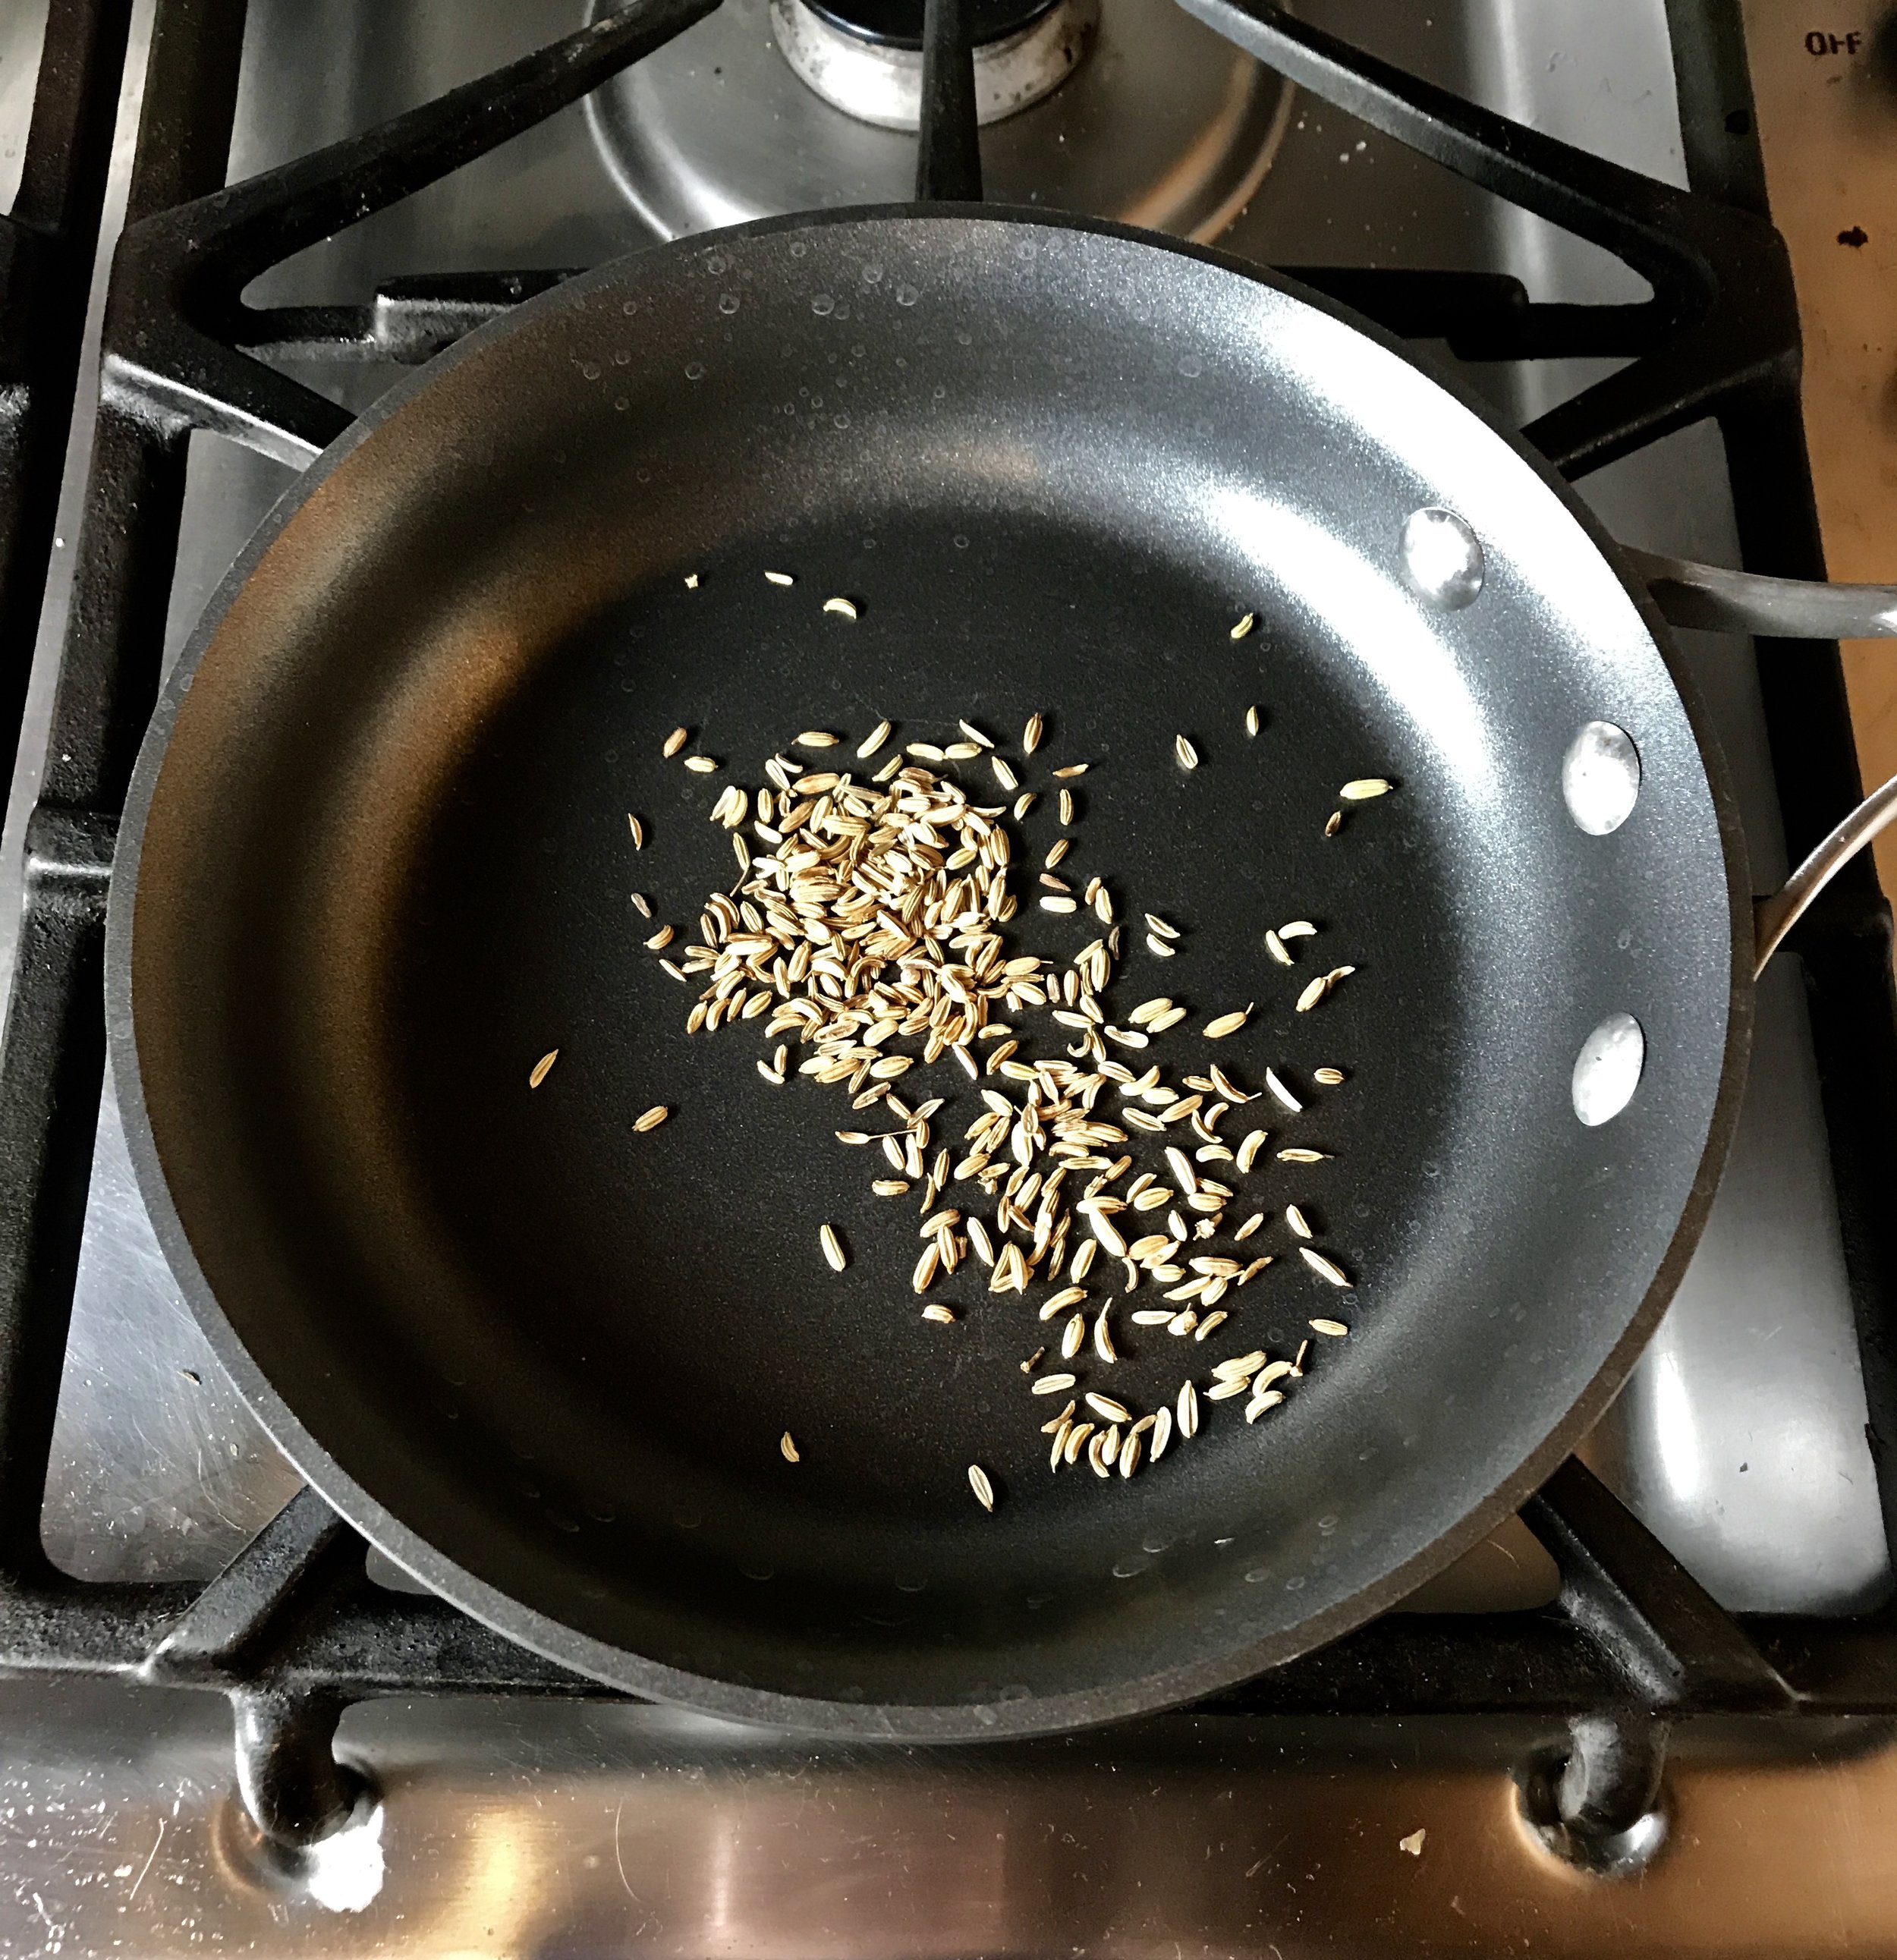
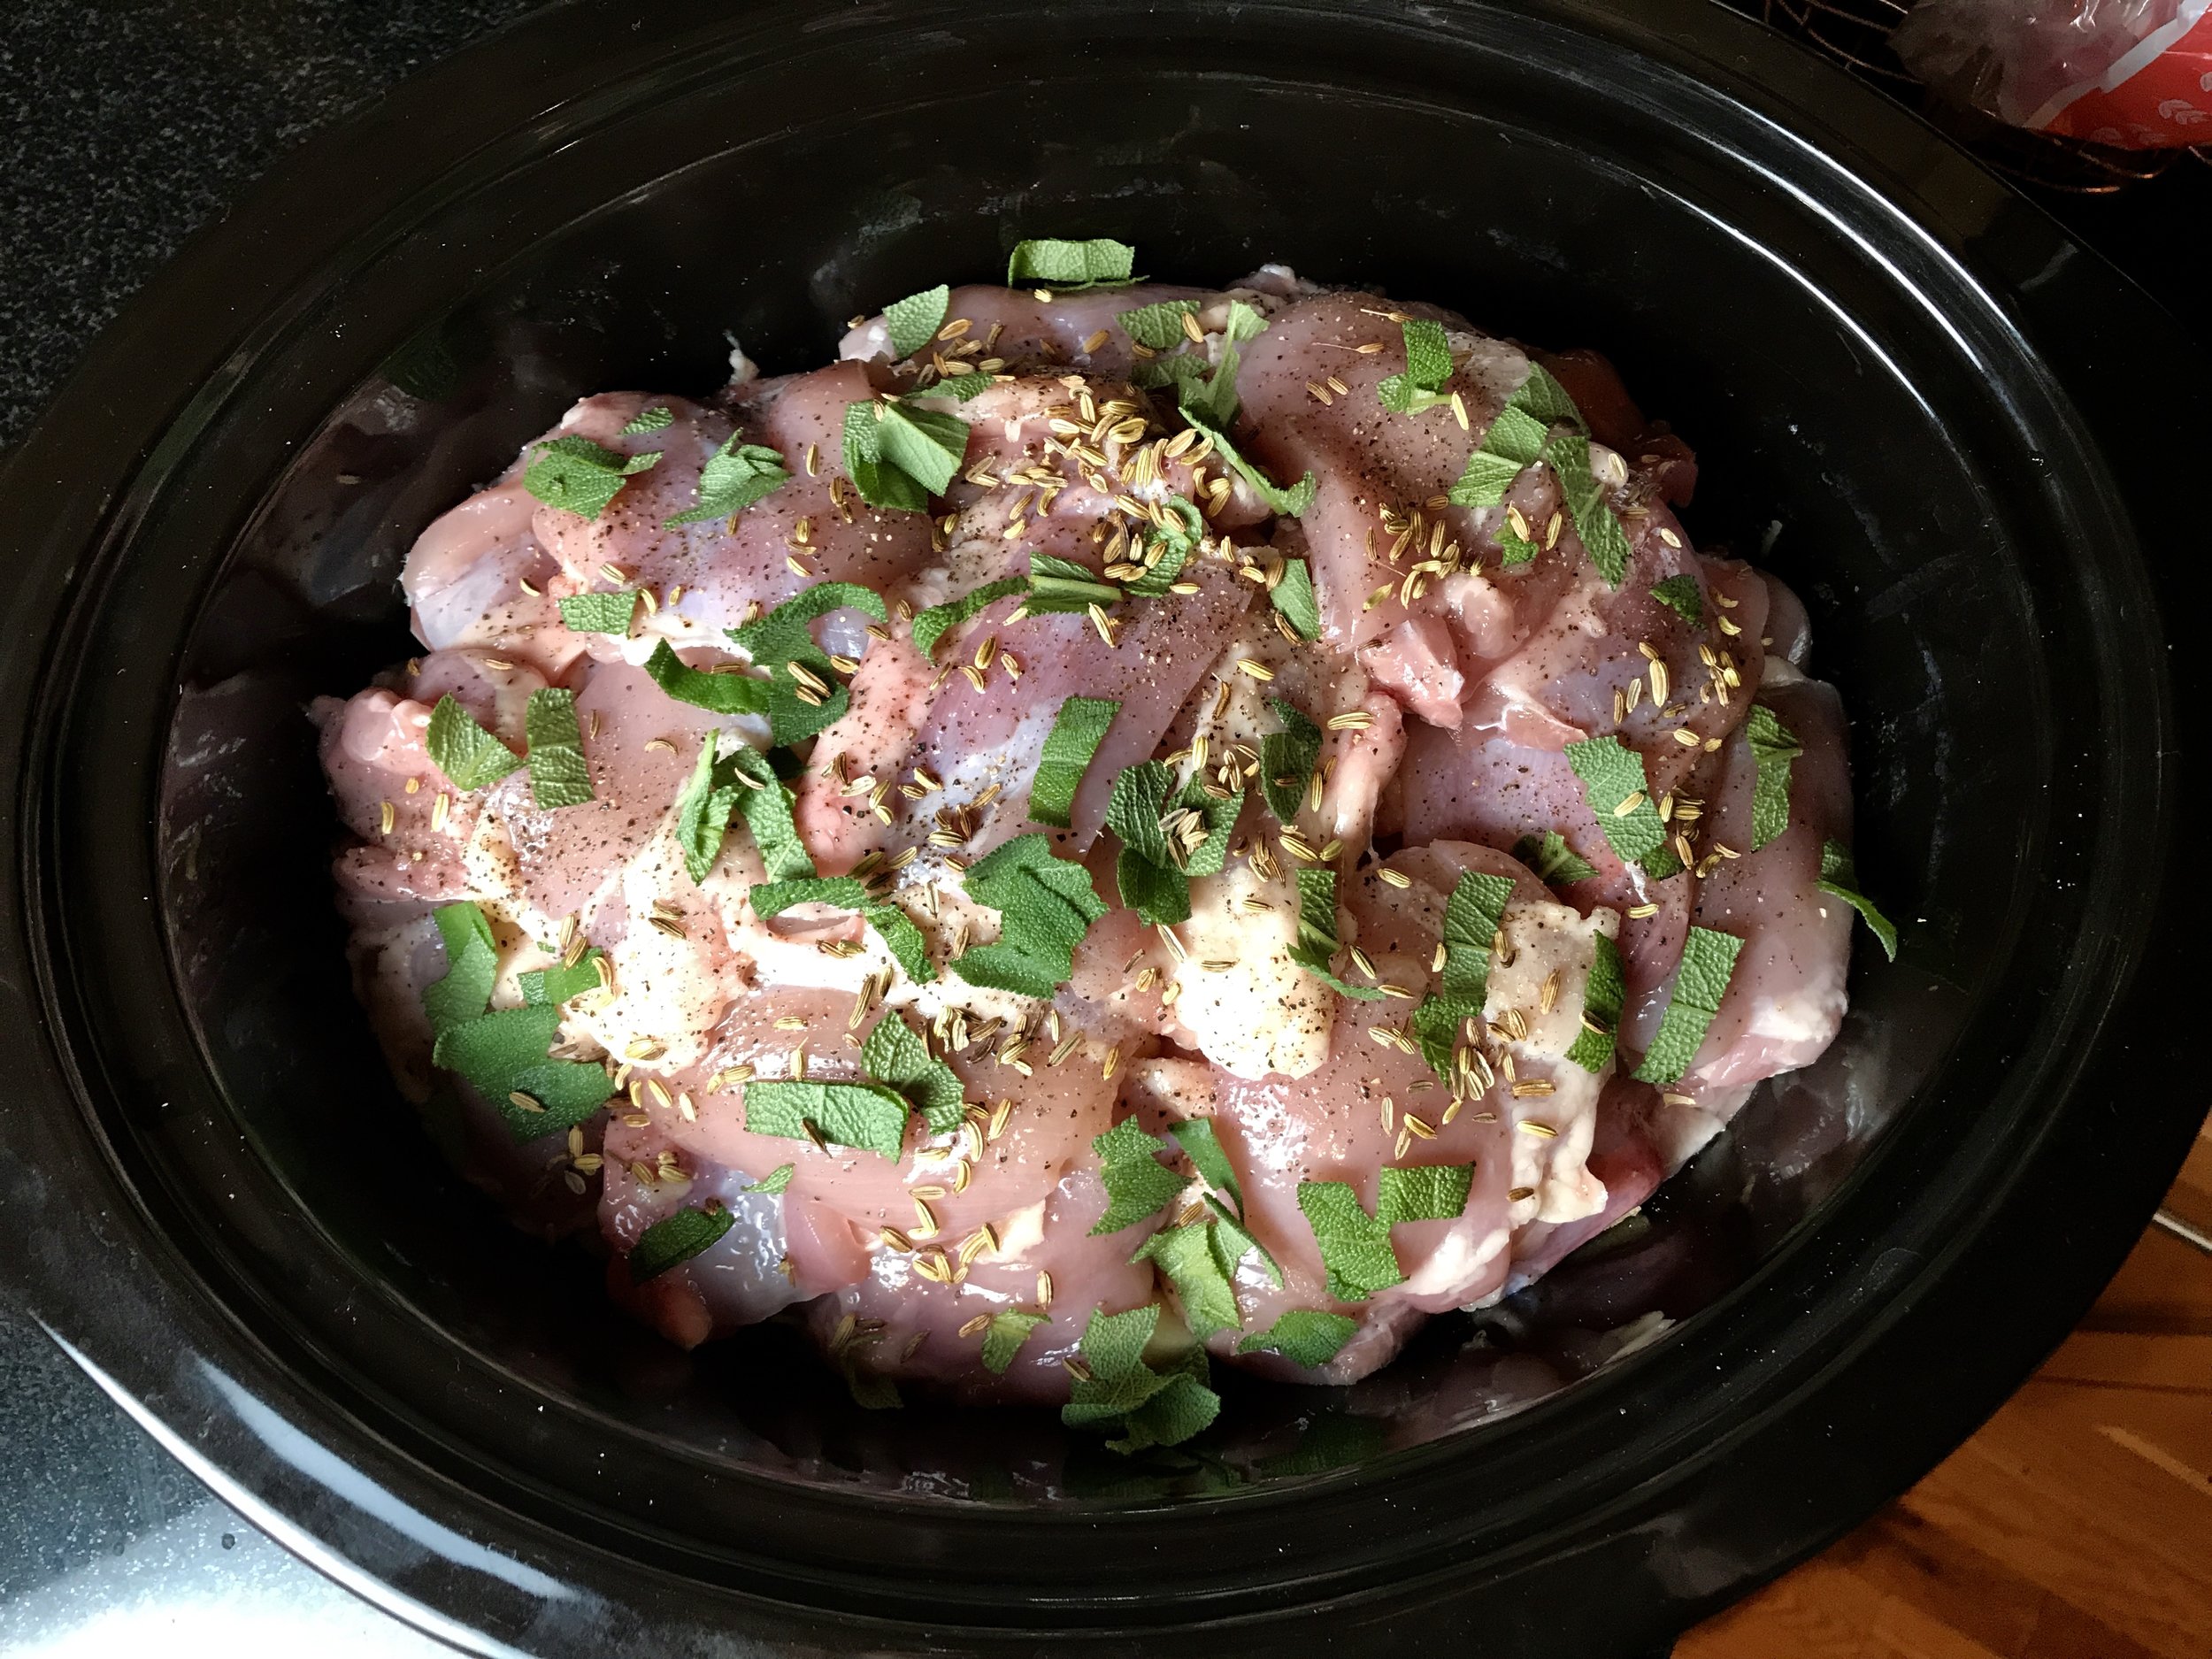
    Toast fennel seeds in a small skillet over medium heat until fragrant, about 2 minutes. Cut chicken thighs in half. Add chicken, fennel seeds and all remaining ingredients to a slow cooker. Cover and cook on low until chicken and apples are very tender, 6 to 7 hours on low or 3 to 3 1/2 hours on high.

    Because this came from WF, I have nutritional info: 

    Per Serving: 300 calories (70 from fat), 8g total fat, 2g saturated fat, 165mg cholesterol, 610mgsodium, 19g carbohydrates, (4 g dietary fiber, 11g sugar), 39g protein.

    IMG_6303.JPG